
Most people think there is only one way to iron perler beads: cover with paper, press flat, done. But a flat matte surface is just the most basic finish. The same design can come out fuzzy, matte, glossy, covered in sparkle, or even soft like velvet.
The key idea is one sentence: an "ironing method" is really an extra layer placed between the iron and the beads. Lay down a towel for a fuzzy finish, a mesh for a grid texture, or a glitter film to transfer sparkle onto the surface. Once you get this "layer logic," the twenty-plus methods collapse into just three families.
Below are the 22 common finishes grouped into three families. Each family starts with the principle, then lists what it suits and what to watch out for.
Get the Basics Down First
Every fancy finish builds on safe ironing: medium heat, no steam, parchment or ironing paper, slow circles, and cooling before lifting. If that is still new to you, start here: Iron Perler Beads basics.
Everything below is just that same routine with a different layer added on top.
1. Texture Finishes: Press a Surface in With the Layer
This family needs no special consumables. It relies on whatever material you place over the beads while ironing. Whatever texture that material has, the cooled beads keep it.

| Finish | Best for | Watch out for |
|---|---|---|
| Standard (smooth, no holes) | Almost any design, flat and matte | A few edge beads may still show holes |
| Towel | Animals, plush-style designs that want a fuzzy feel | Slight loose fuzz; avoid large dark areas |
| Loofah cloth | Most designs, a soft matte texture | Mild color bleeding possible |
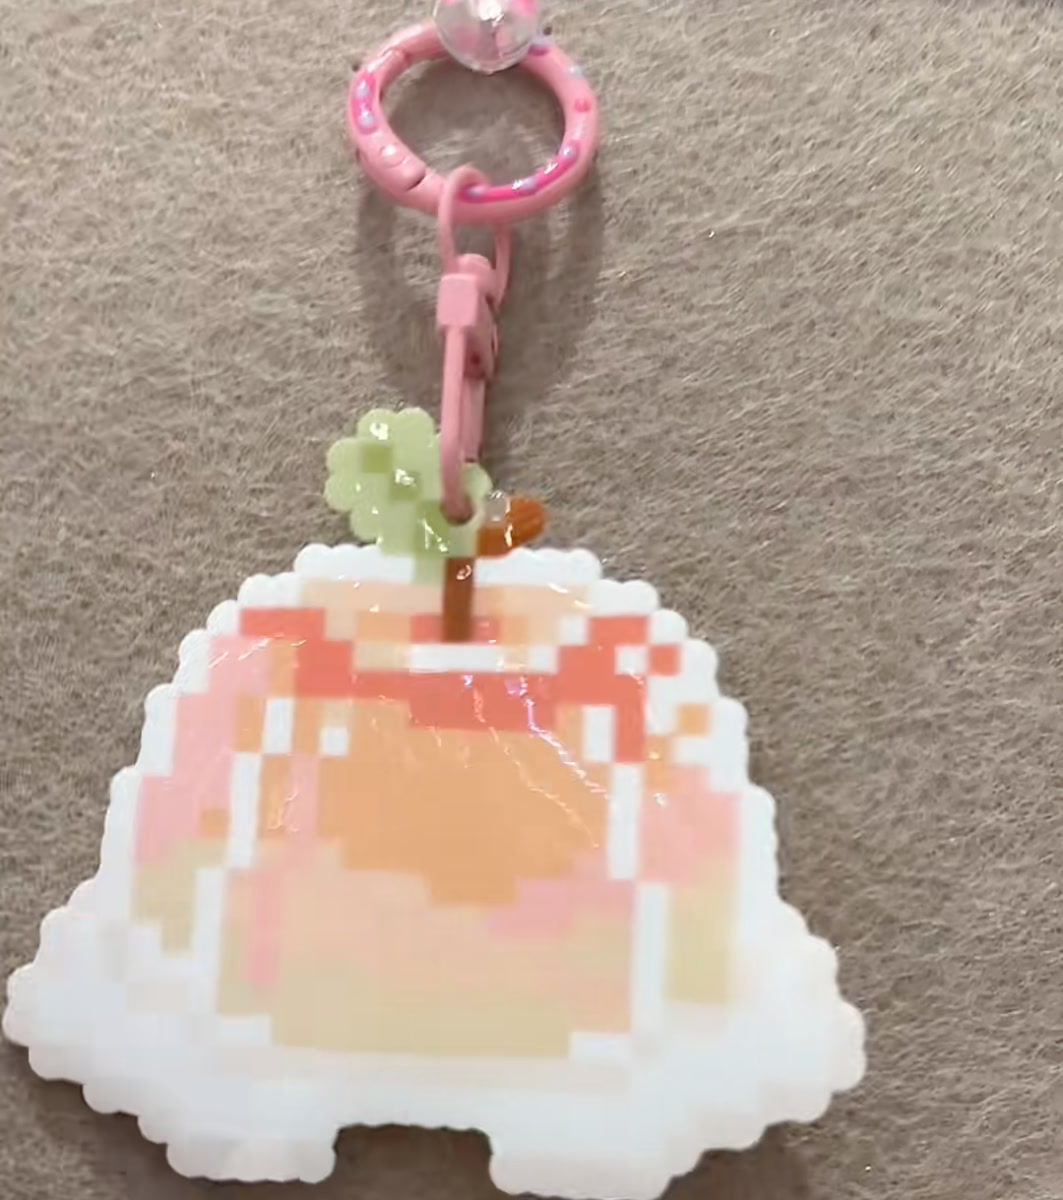
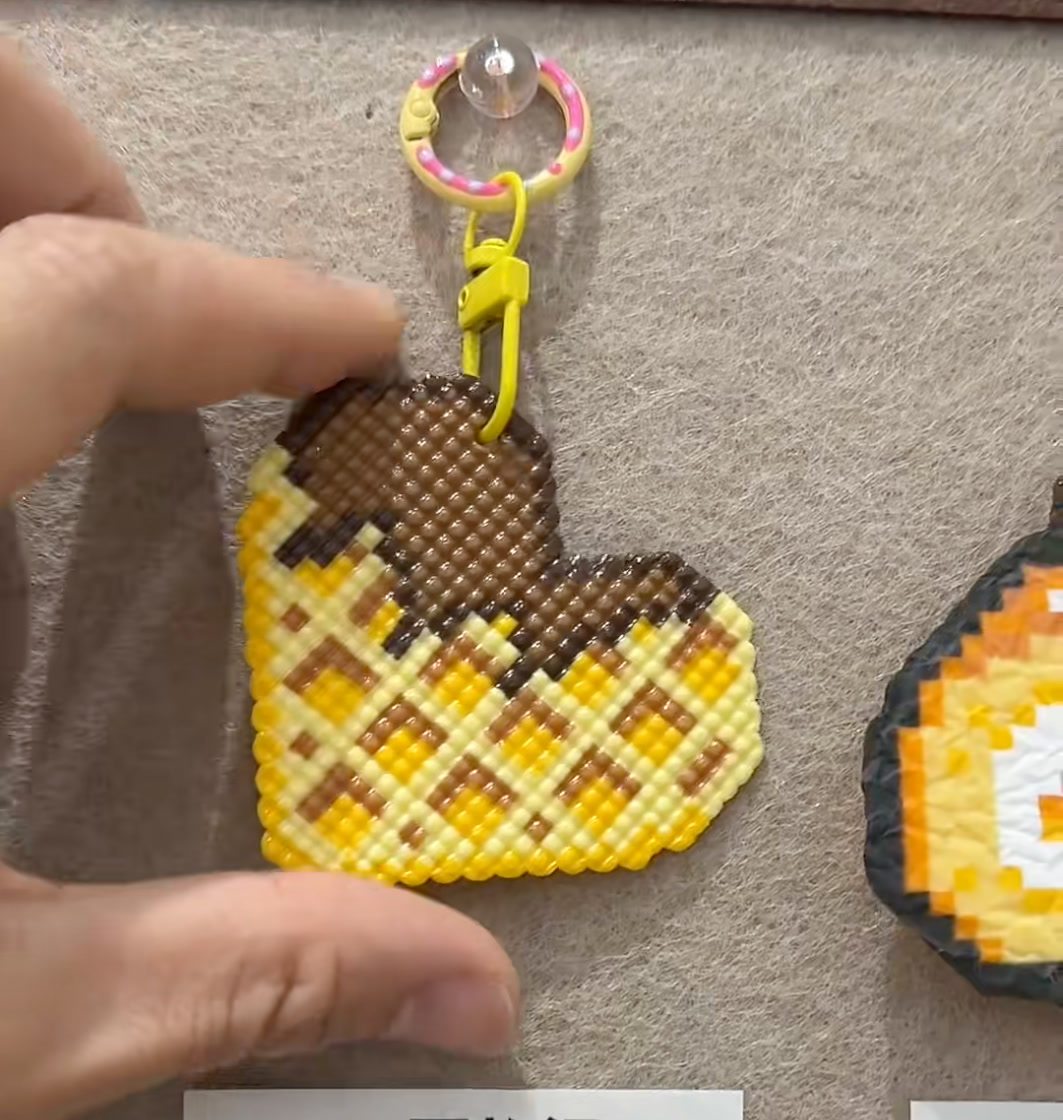
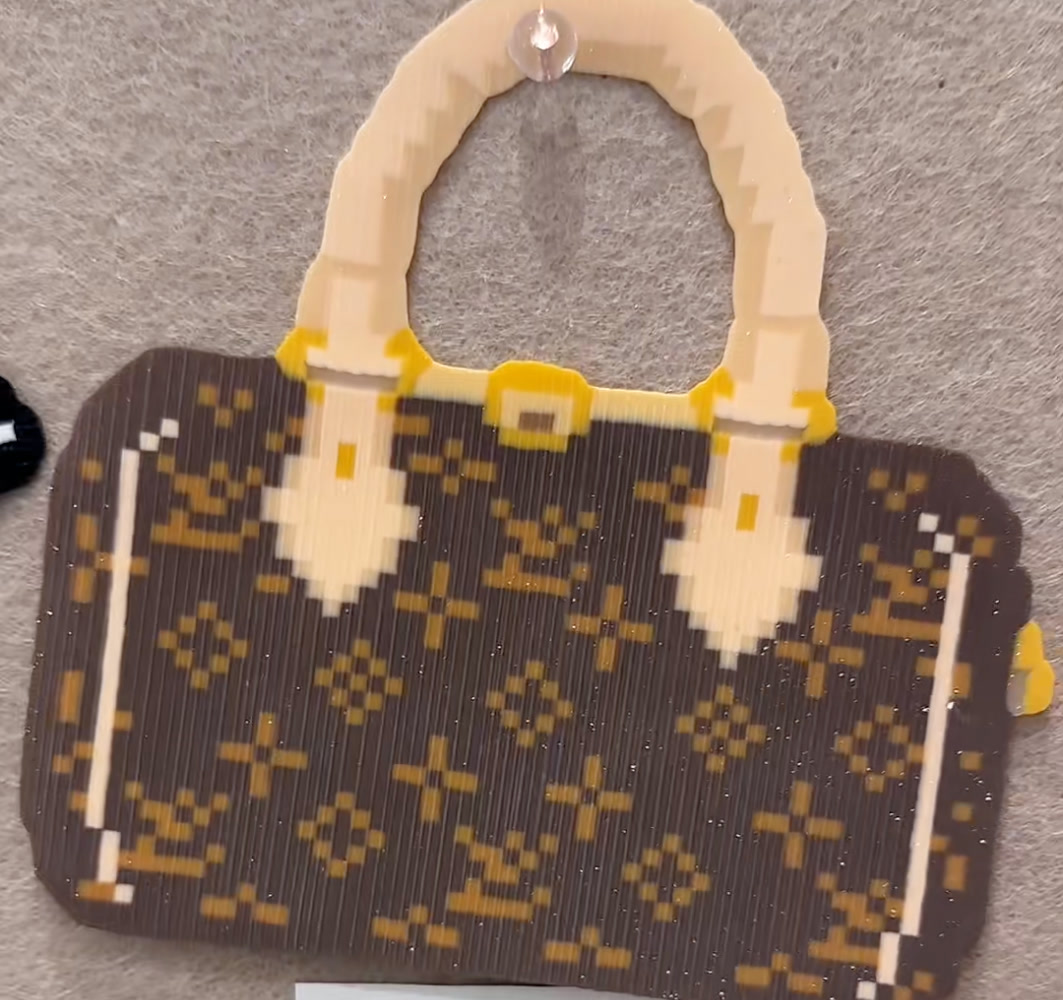
| Glossy film | Glass, clear bags, candied fruit — anything that wants shine | Lay the film flat or it leaves crease marks |
| Mesh / grid | Coasters, pixel-art, industrial looks | Uneven edges and bleeding; skip if you want it perfectly clean |
| Crumpled | Kraft bags, waffles, bread — distressed or food textures | Wrinkle depth is random, not controllable |
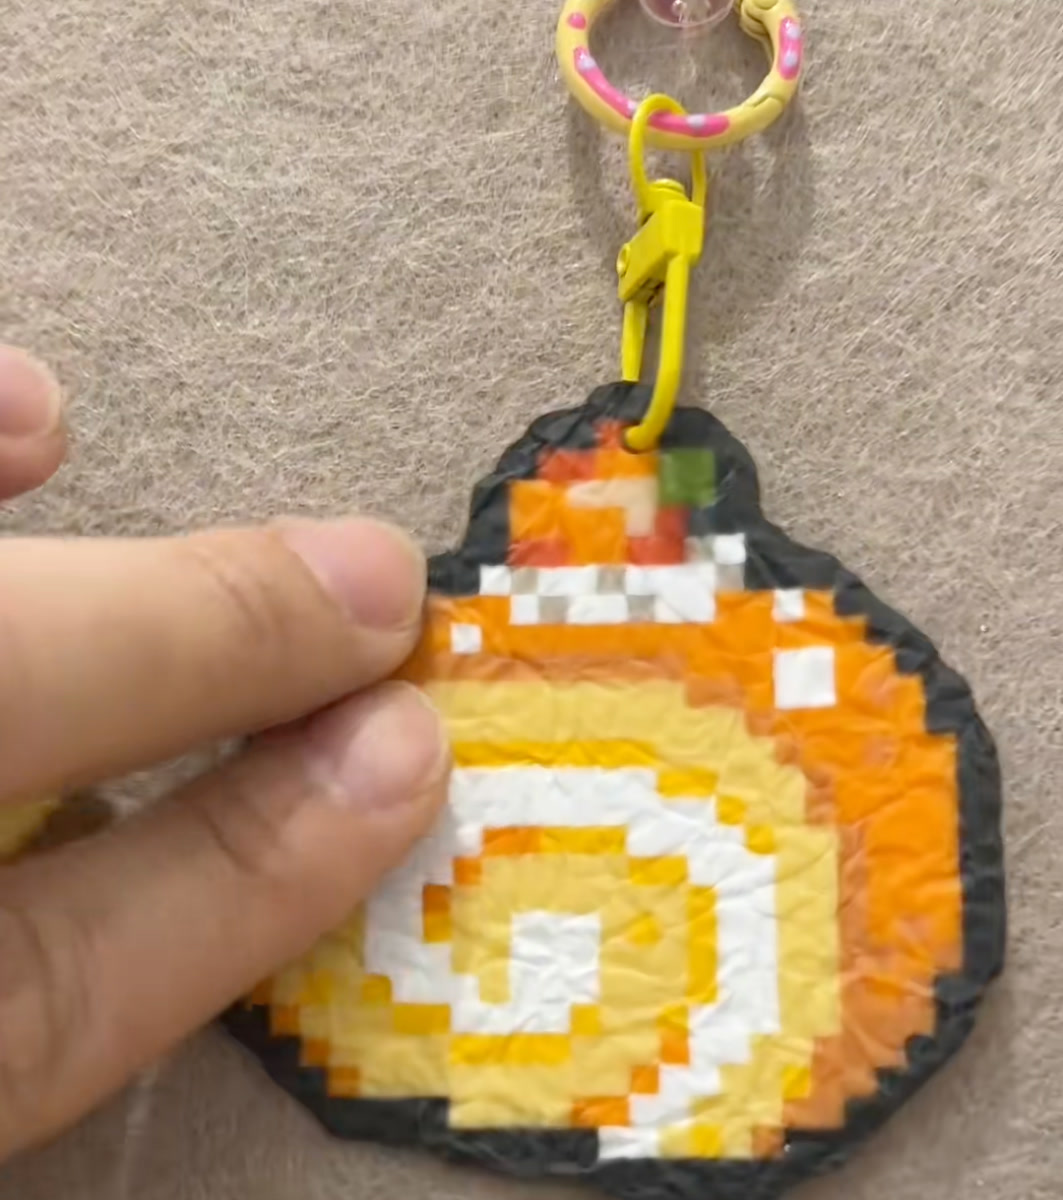
How to choose: towel for soft and cute, loofah for a safe everyday look, glossy for translucent shine, crumpled for a vintage, worn feel.
2. Glitter Finishes: Transfer Sparkle Onto the Surface
"Glitter" here refers to a glitter heat-transfer film. You lay the film over the beads and iron; the heat makes the sparkle adhere and transfer onto the surface, leaving a fine or chunky shimmer.

Glitter comes in "chunky" (large, obvious flakes) and "fine / medium" (tiny, dreamy shimmer). Add color, and you get a whole series:
| Finish | Best for | Watch out for |
|---|---|---|
| White chunky ⭐ | Most designs, a versatile all-rounder | Flakes may sit unevenly |
| Black chunky | Dark, moody designs | Looks dirty on light designs |
| Gold chunky | Black, yellow, red and warm-toned designs | Uneven flakes, mild bleeding possible |
| Silver chunky | Most designs, a cool tone | Uneven flakes, mild bleeding possible |
| Pink-white fine ⭐ | All sizes, dreamy and sweet | Risk of color bleeding |
| Silver fine | Black, white, gray cool-tone designs | Risk of color bleeding |
| Black fine | Dark, edgy styles | Not for white designs — it picks up black specks |
| Multicolor medium ⭐ | All sizes, playful and eye-catching | Uneven flakes, mild bleeding possible |
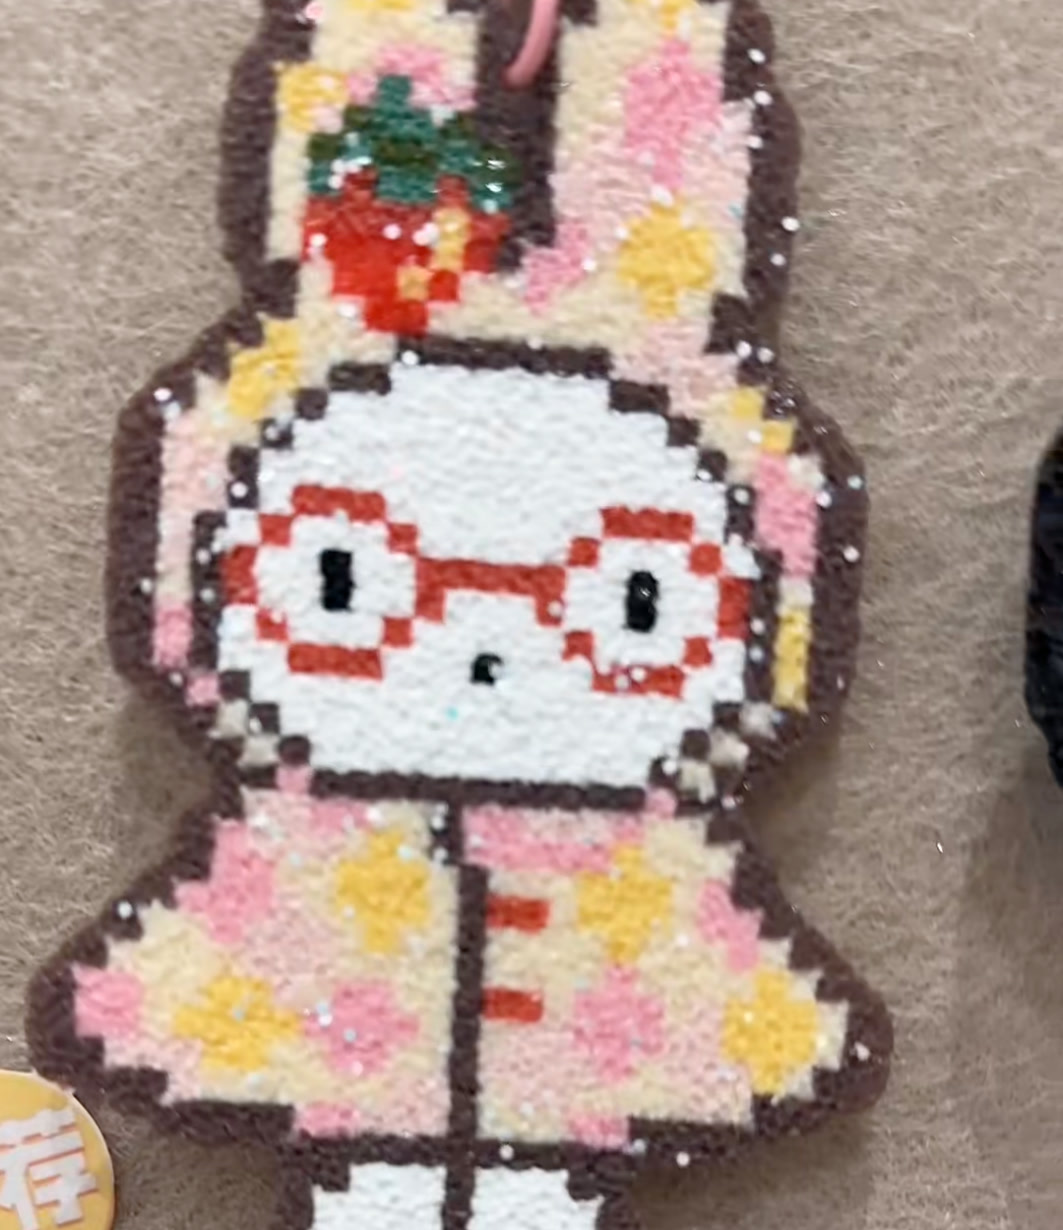
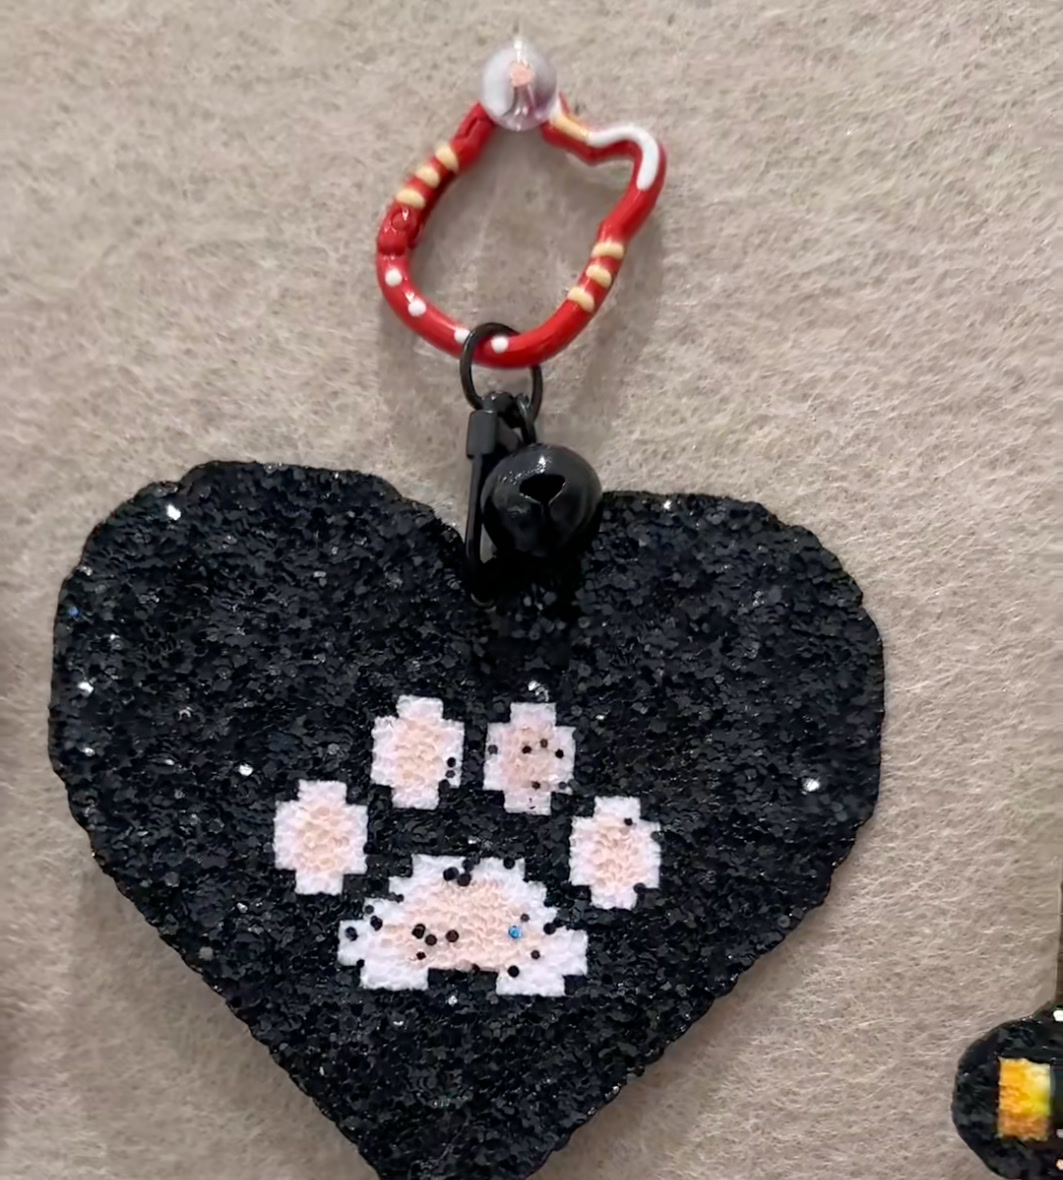
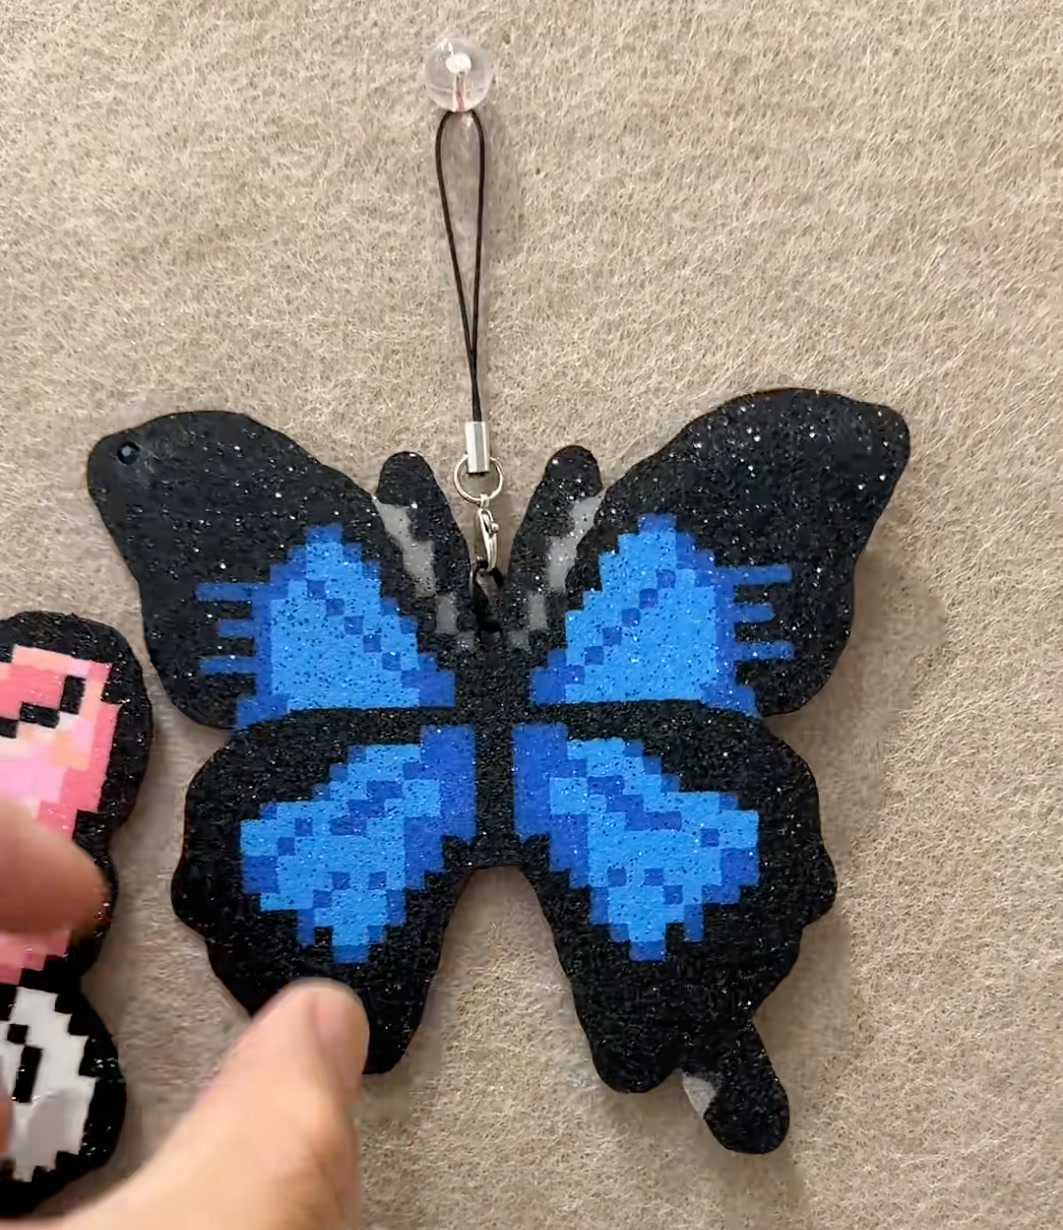
Common pitfalls: nearly all glitter finishes share two risks — uneven flake distribution and mild color bleeding. Be especially careful on light or large blank areas; dark designs show the sparkle best.
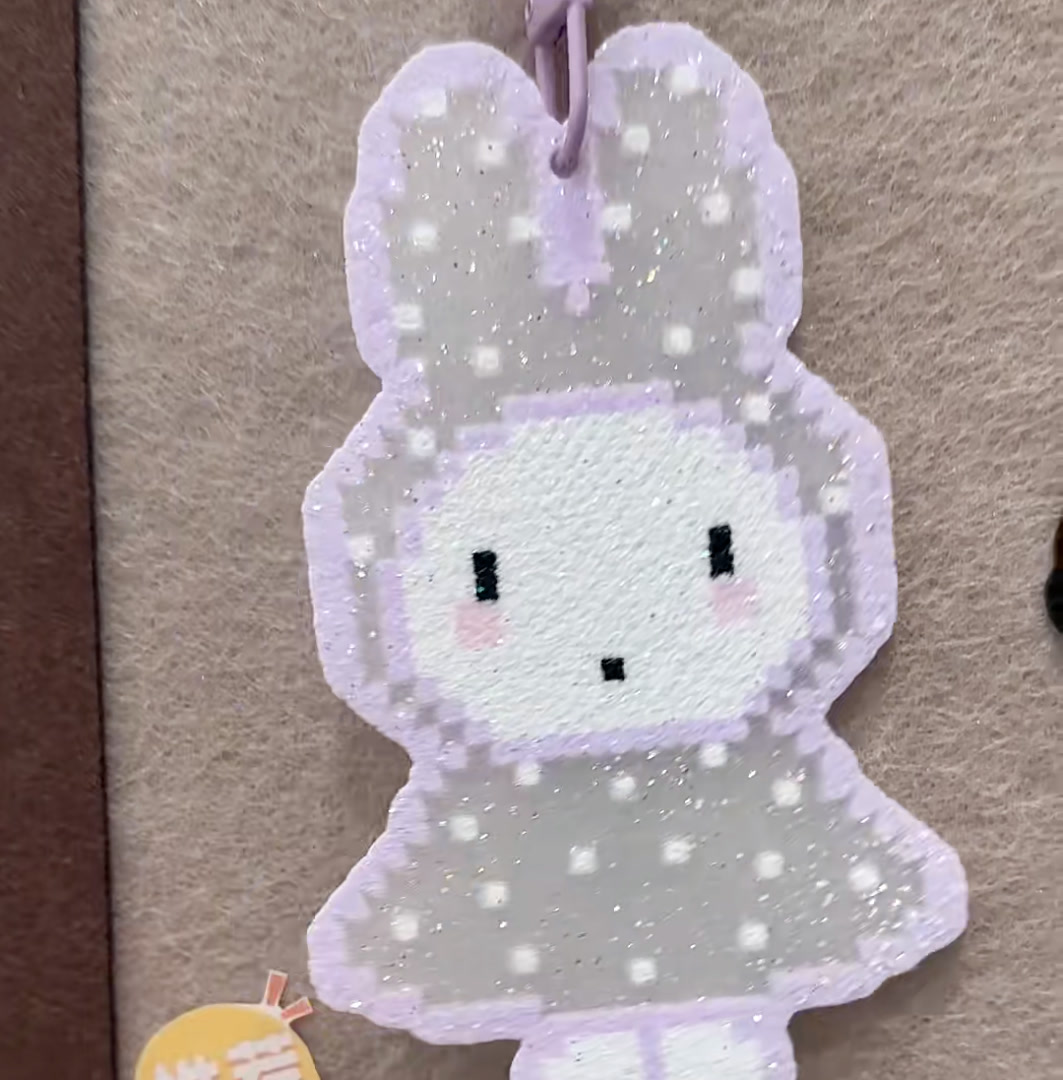
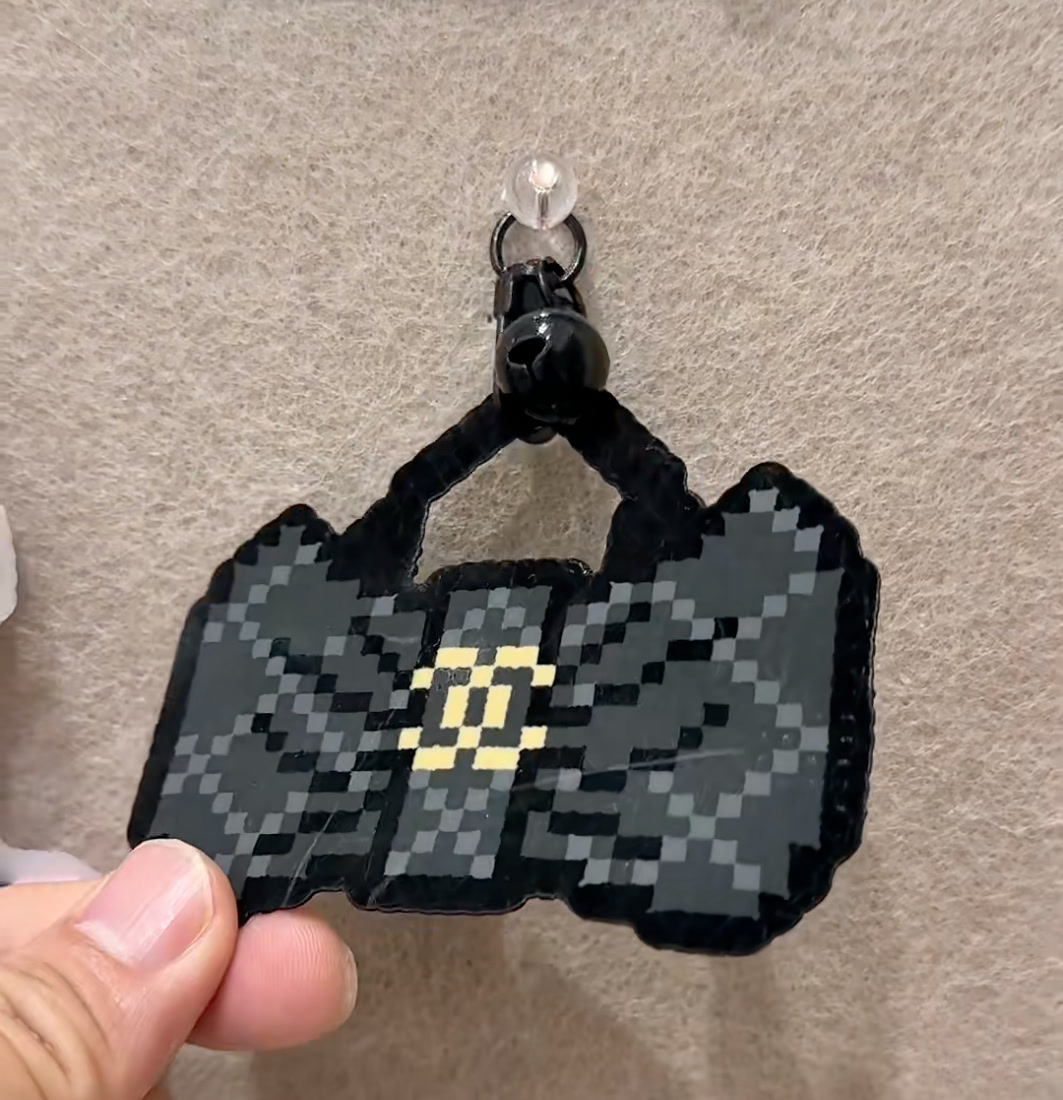
3. Velvet Finishes: A Premium Flocked Surface
"Velvet" refers to a flock (suede-like) transfer film. It works like glitter, but what transfers is a dense, fine fuzz. The result feels like suede or velvet — a matte, vintage finish that looks especially premium on dark designs.

| Finish | Best for | Watch out for |
|---|---|---|
| Wave silver | Dark tones, scenery designs | Romantic vintage curves, random grain |
| Stripe silver | Dark-tone designs | Horizontal/vertical grain is random |
| Bow silver | Cute, girly, fairy-style designs | Uneven flakes, random bow grain |
| Mesh silver | Dark-tone bags and luggage designs | Small chance of bleeding |
How to choose: velvet leans dark and premium — great for bags, dark-toned characters, and vintage looks. For light, sweet designs, fine glitter is the better pick.
A Quick Picker
- Want flat and versatile → Standard
- Want soft and fuzzy → Towel
- Want soft matte → Loofah / Velvet
- Want translucent shine → Glossy film
- Want pixel / industrial → Mesh
- Want distressed / food texture → Crumpled
- Want sparkle → Glitter (fine for light/sweet, chunky for dark)
- Want premium vintage → Velvet
Before You Start
- Practice with the standard finish first; learn the heat before going fancy
- Glitter and velvet films are single-use — test on a scrap piece first
- For light or large blank designs, avoid the finishes most prone to bleeding
- Fancy finishes still need to cool before lifting, or they warp
- Keep a few spare beads of the same design to compare effects side by side
Once you internalize "change the layer, change the finish," you no longer need to memorize twenty-plus names: decide the texture you want, then find the layer that makes it. The rest is the iron and a little patience.
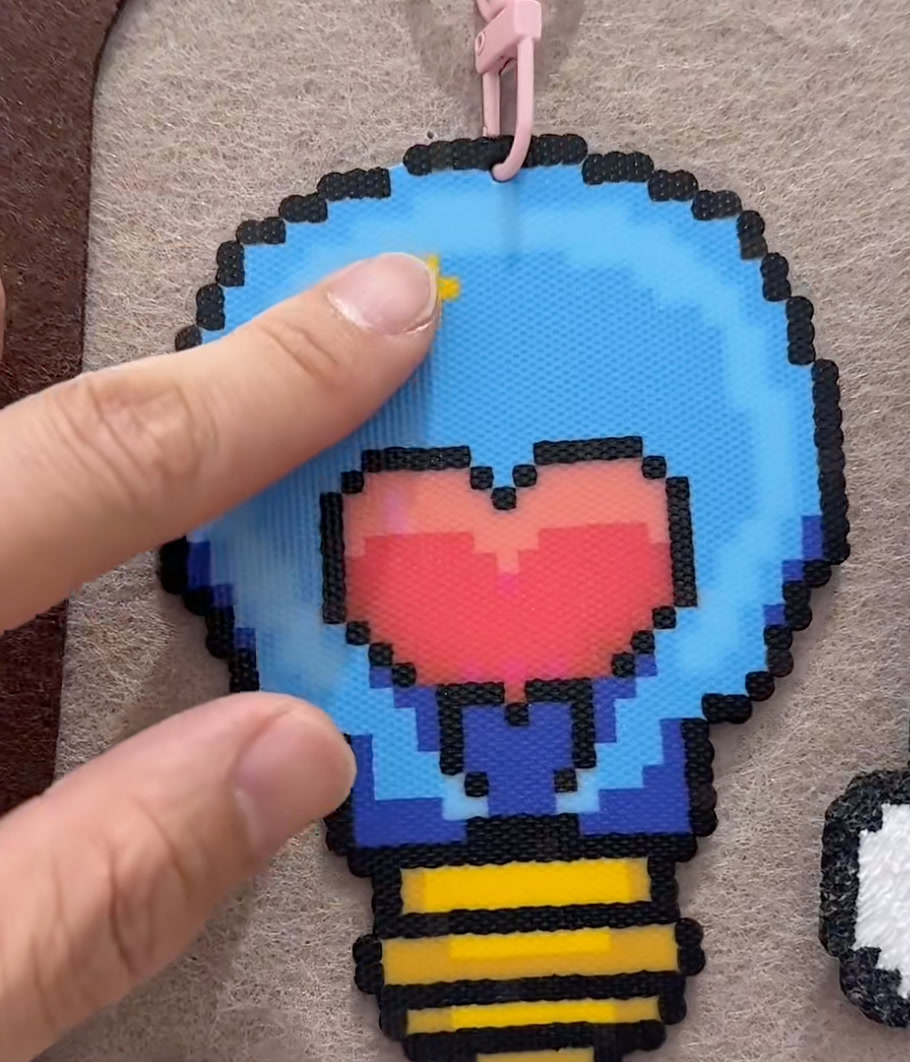
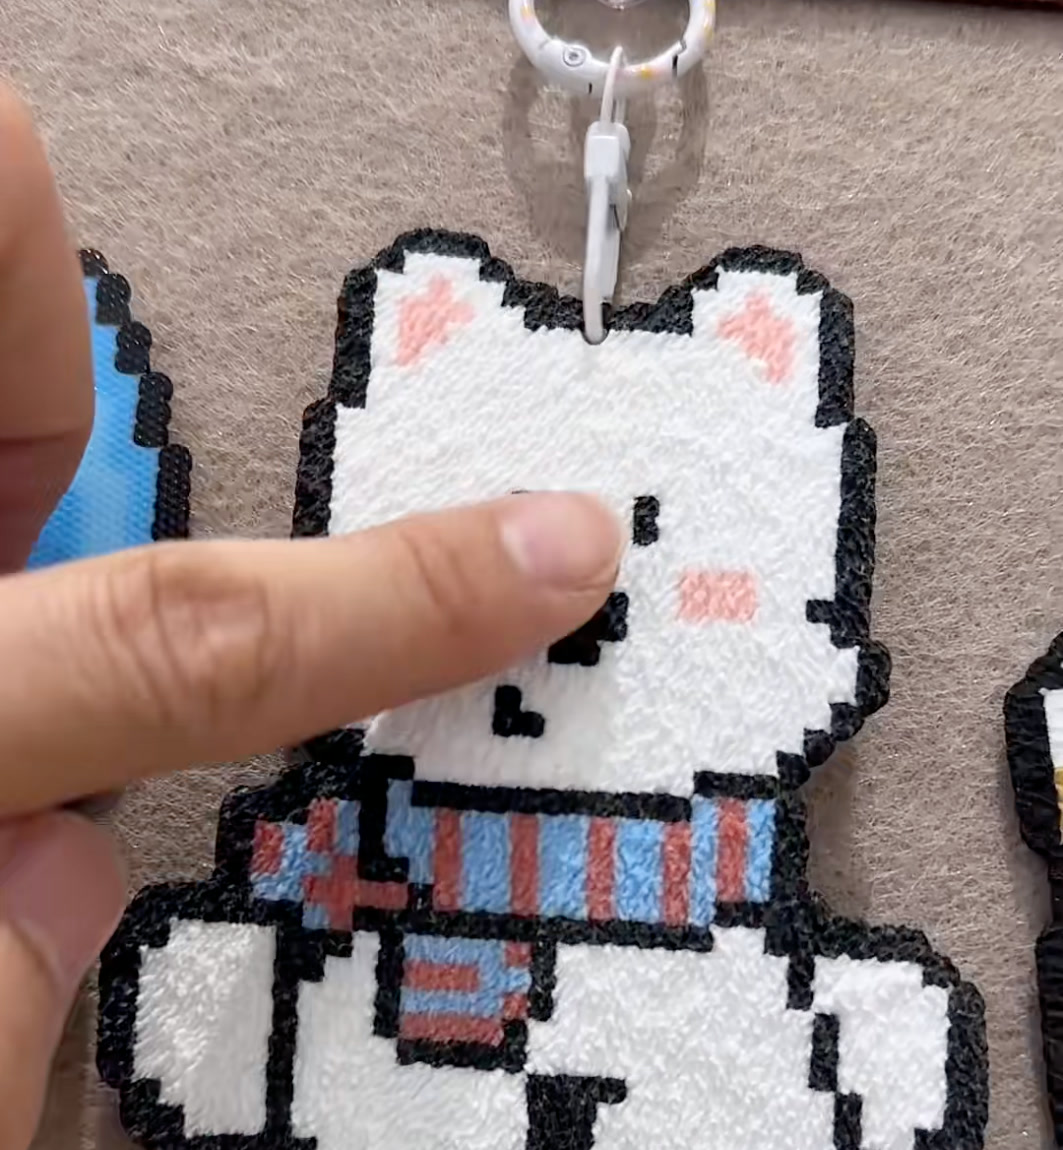
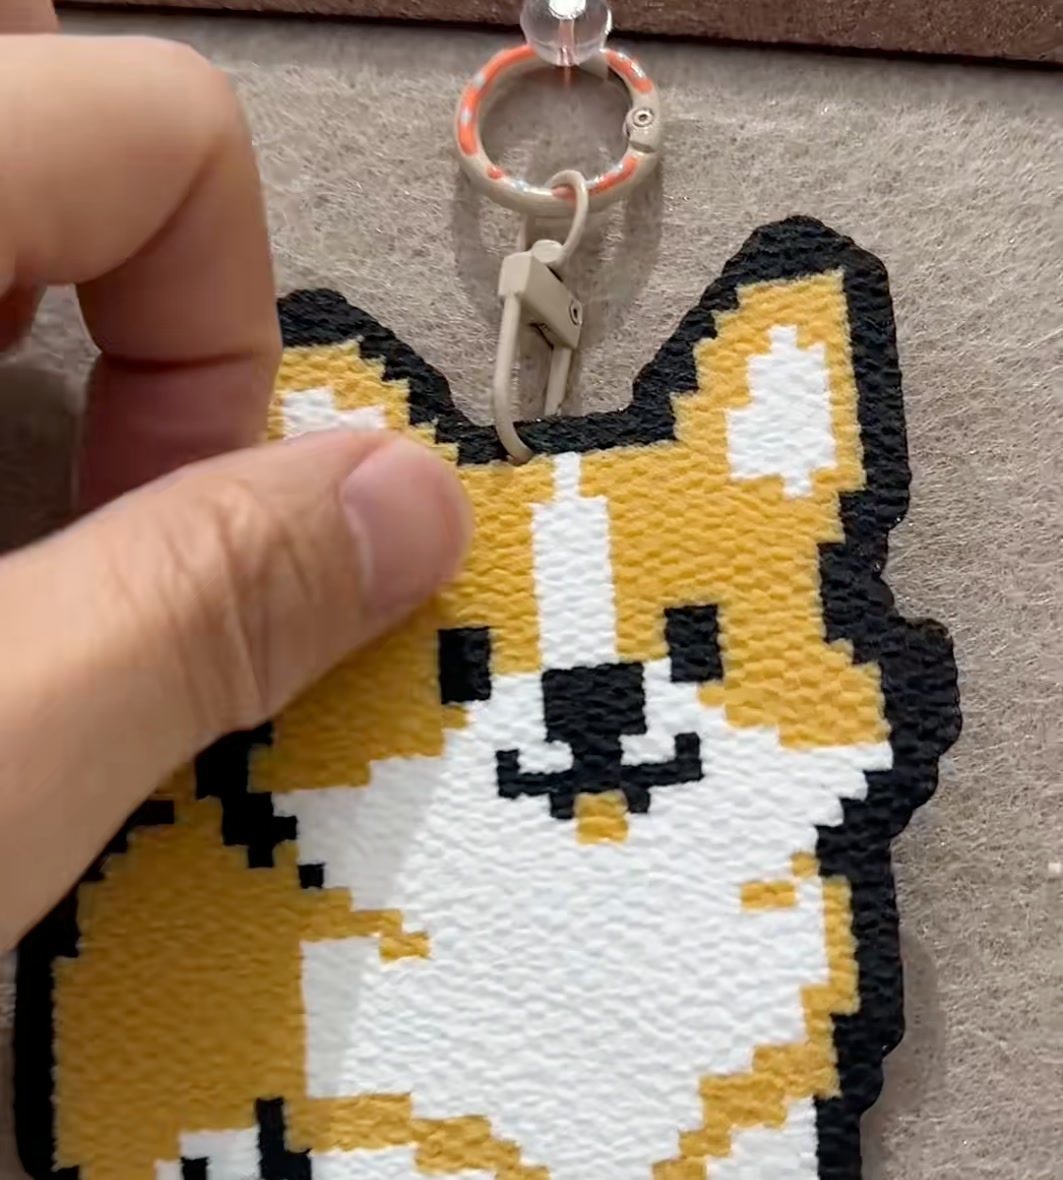
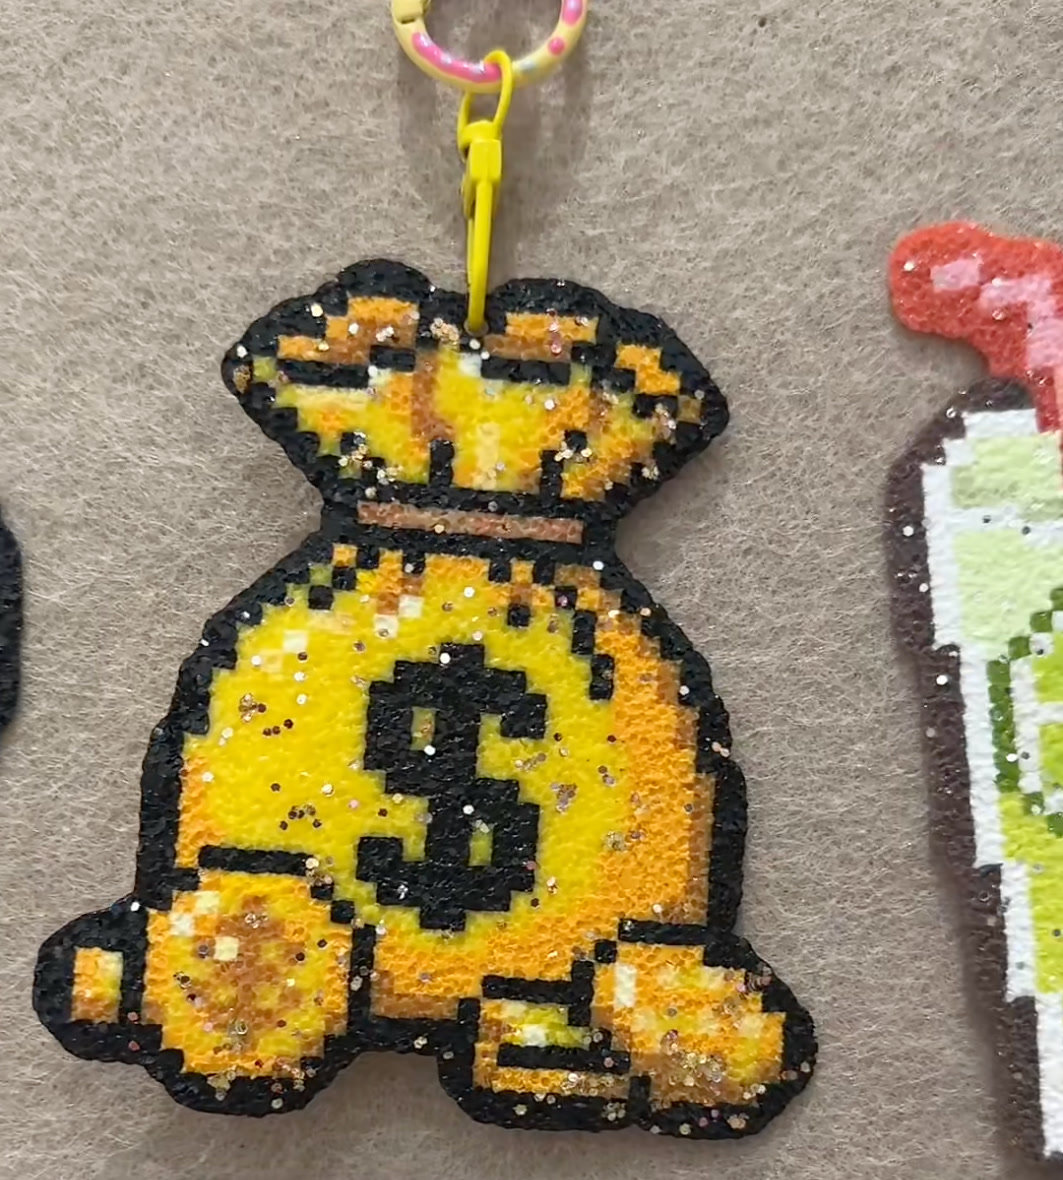
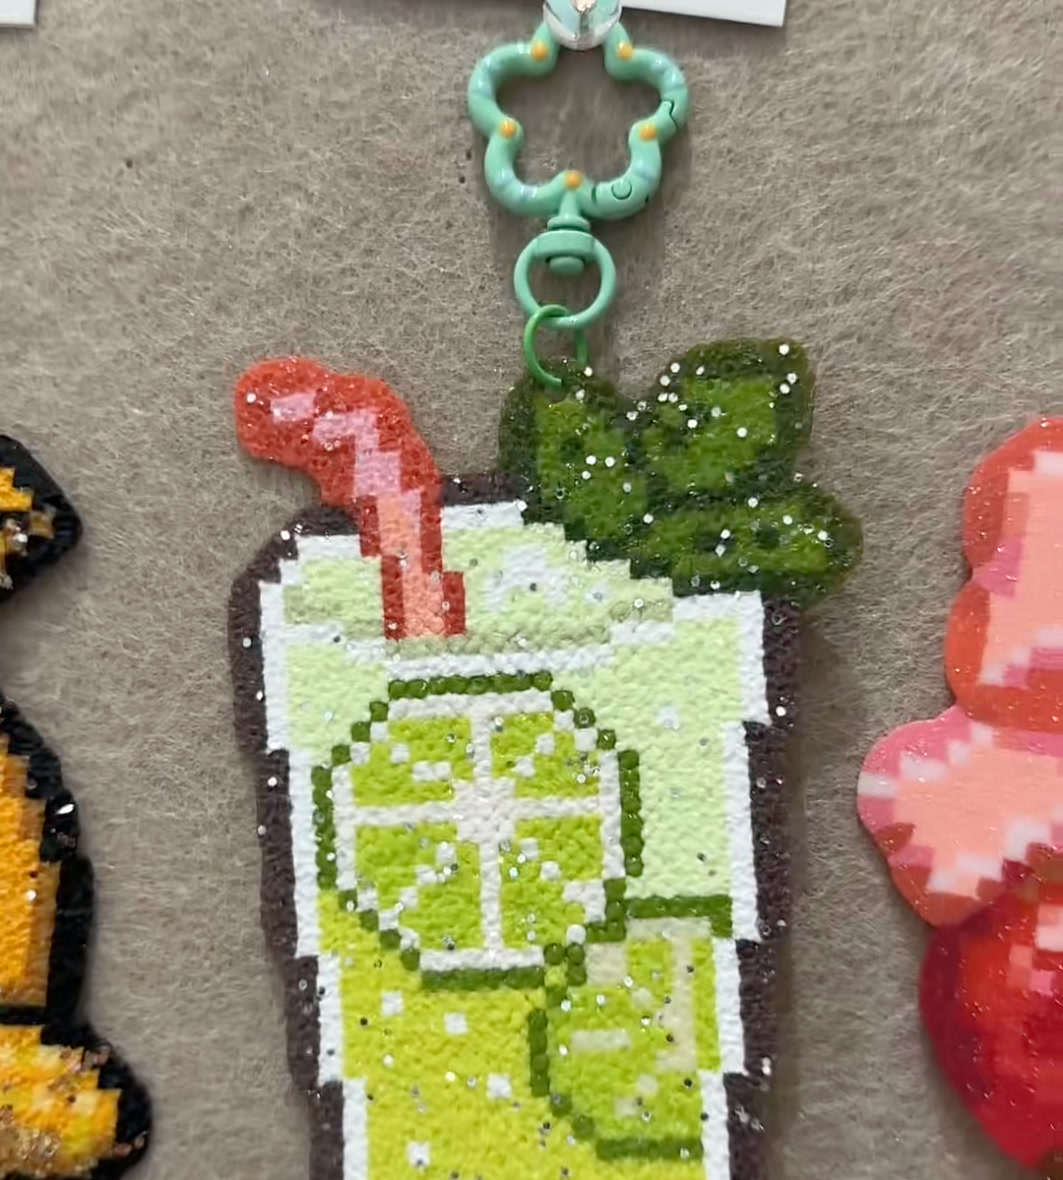
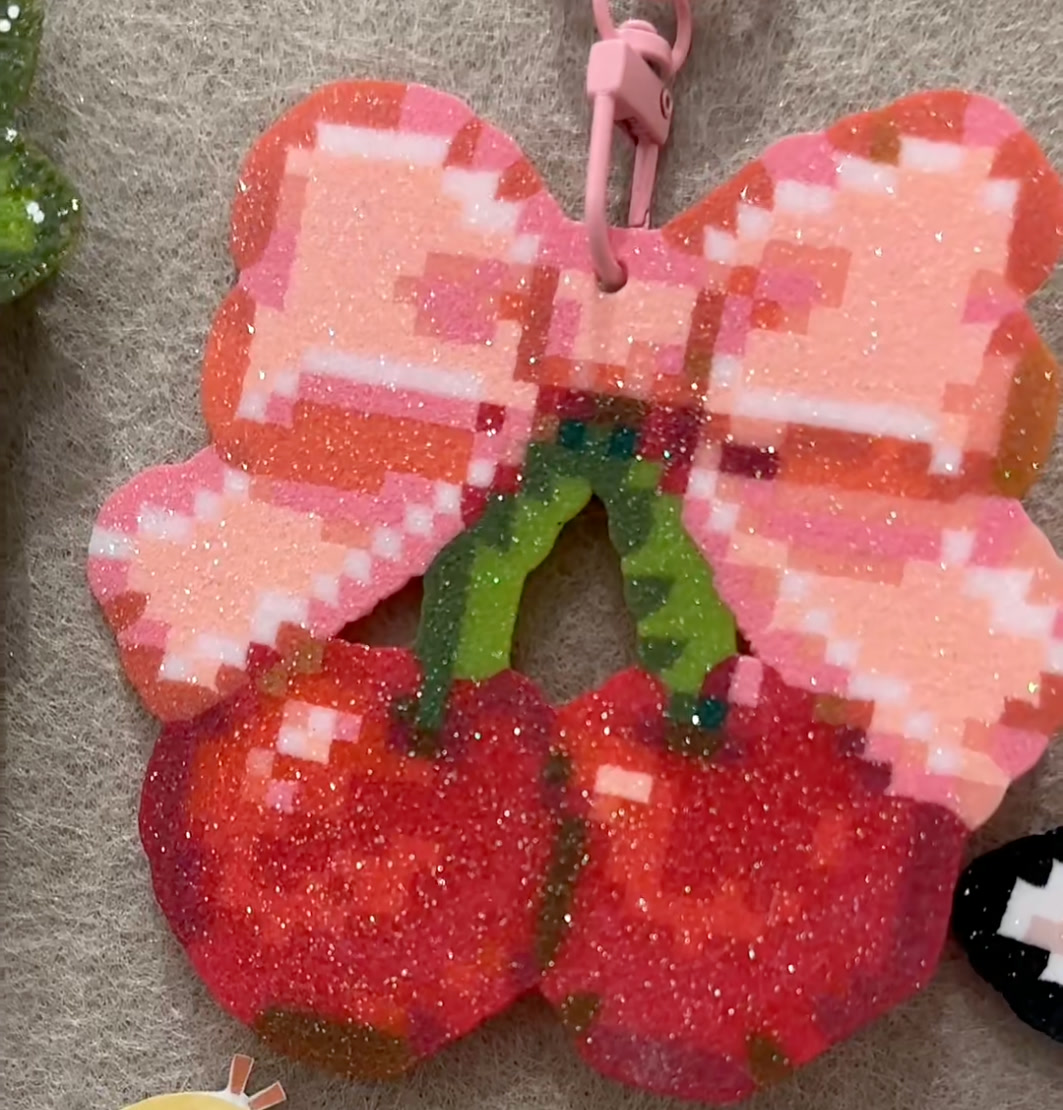
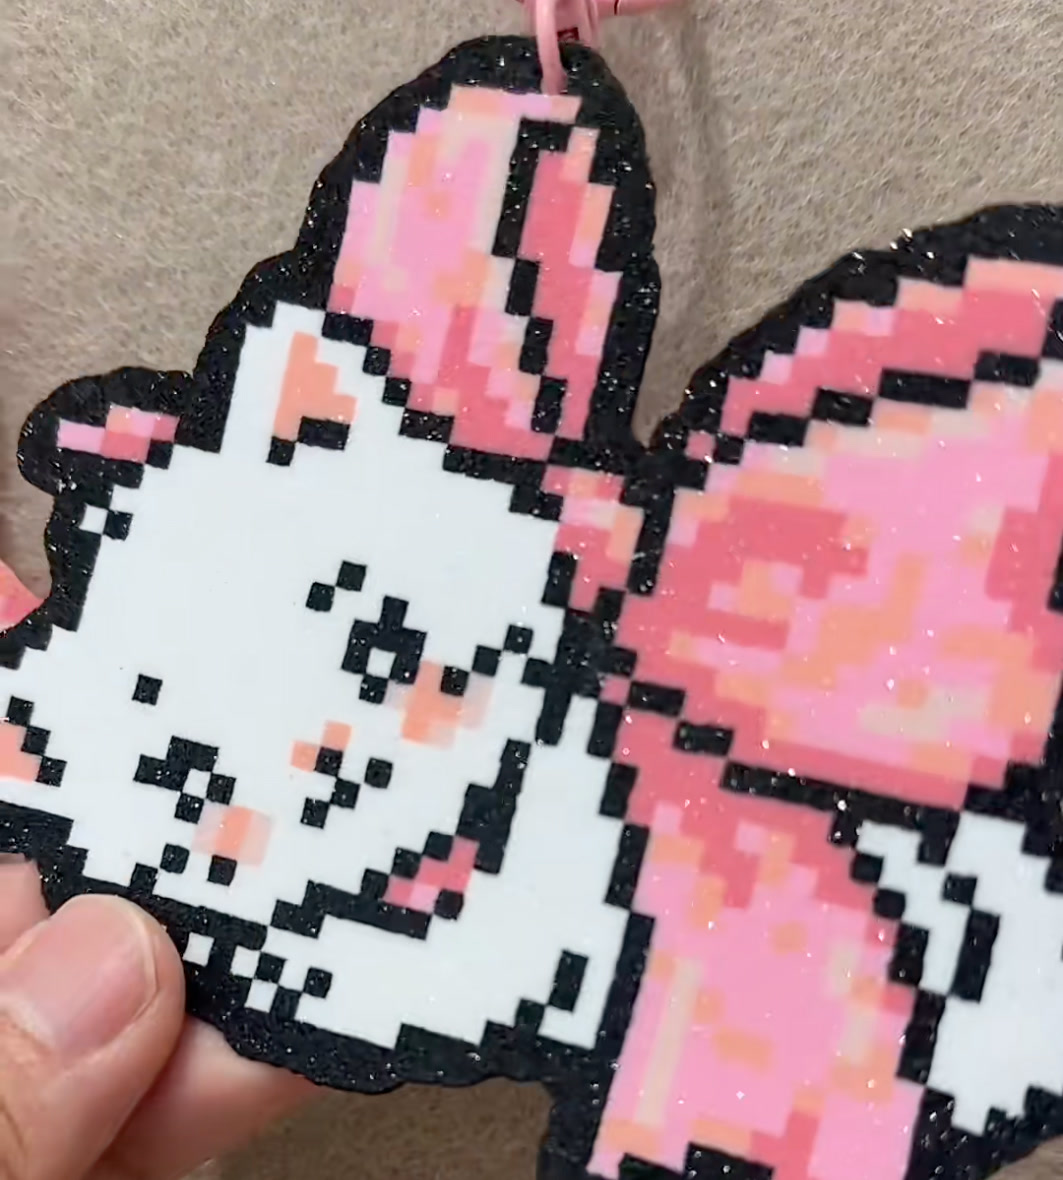
The finish names and grouping in this article were inspired by a hands-on "ironing methods" wall display at a local craft shop, then reorganized around how each effect actually works.
Want to design the pattern before you iron it? Open the Perlerbeads Studio editor to turn an idea into a printable pattern, and tell us what to improve through the contact page.