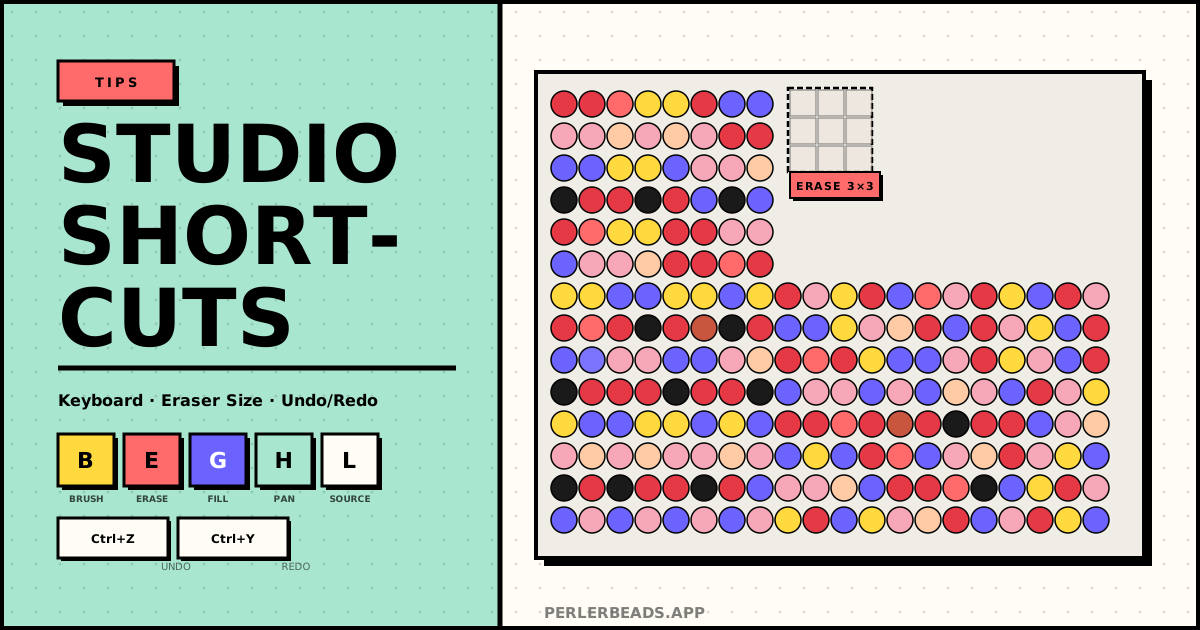
When you open Perler Bead Studio, the right sidebar changes content depending on which tool mode you're in. Each panel has its own set of controls, and it's not always obvious what everything does at first glance. This guide walks through every panel and shortcut so you have one place to look things up.
Keyboard Shortcuts at a Glance
The toolbar shows each tool's shortcut key next to its button. Here's the full list:
| Shortcut | Function | Notes |
|---|---|---|
| B | Brush | Switch to the brush — select a color, then click or drag to place beads |
| E | Eraser | Switch to the eraser — click or drag to clear beads |
| G | Fill | Switch to the fill tool — flood-fills all adjacent same-color cells |
| H | Pan | Switch to pan mode to drag the canvas (also closes the sidebar on mobile) |
| L | Load Source | Switch to the source panel to upload an image or paste a URL |
| Ctrl+Z | Undo | Undo the last action |
| Ctrl+Y | Redo | Redo an undone action (also Ctrl+Shift+Z) |
| Space | Temporary Pan | Hold Space to temporarily enter pan mode |
| Esc | Close Dialogs | Close the share menu, preview modal, etc. |
Workflow tip: Once shortcuts feel natural, the rhythm B → place beads → E → fix mistake → B becomes automatic — no mouse trips to the toolbar at all.
Ctrl+Z Undo / Ctrl+Y Redo: Work Without Fear
Ctrl+Z steps back through your actions one at a time, as many steps as you need. Ctrl+Y (or Ctrl+Shift+Z) restores whatever you just undid.
Practical situations:
- Wrong color placed: Ctrl+Z to undo, pick the right color, try again
- Whole area looks wrong: Keep pressing Ctrl+Z to roll back multiple steps at once
- Undid too much: Ctrl+Y to restore what you just removed
- Compare before and after: Toggle Ctrl+Z / Ctrl+Y back and forth to see the difference
Note: Each mouse-down drag is one undo step; releasing and dragging again is a separate step.
Source Panel (Shortcut: L)
Press L to switch to the source panel. The canvas is read-only in this mode — clicking on it won't change any colors.
Loading an Image: Presets, URL, File
Three tabs at the top of the panel correspond to three ways to load an image:
- Presets: Built-in brand color templates — click to load instantly, no image needed
- URL: Paste a direct image link into the input field and click Load to auto-convert it
- File: Choose an image from your device (PNG, JPG, GIF, WEBP — max 120×120)
Grid Size
After loading an image, the system auto-calculates a set of recommended sizes based on the image's aspect ratio. The center-marked option is the best fit — click it to apply immediately.
To set a custom size, enter W (width) and H (height) manually (range: 8–120). Enable Lock Ratio so that editing one side auto-adjusts the other to maintain proportions. Click Apply to confirm.
Tip: More cells means more detail, but also many more beads. For most projects, 30–60 cells wide is a good balance.
Bead Shape
Choose how beads are displayed on the canvas: Circle (closest to the real thing), Square (feels more like pixel art), or Ring (easier to distinguish colors in dense areas). Shape only affects the visual display — it does not affect color calculation or export output.
Brush Mode (Shortcut: B)
Press B to switch to brush mode, then click or drag cells on the canvas to place beads.
Color Palette
The sidebar shows all available colors in the current palette. Click any color swatch to select it — that color will be used for every subsequent click and drag.
Edit Color
Below the palette, you can customize any selected color:
- Click the color swatch to open the system color picker and choose any color
- Type a HEX code directly into the text field (e.g. `#FF6B6B`); press Enter to quickly confirm
- Click Apply to commit the change — all cells on the canvas already using that color will update instantly
If the palette has been customized and the selected color is not white, a Reset button appears in the top-right corner of the section. Click it to restore all colors to the default palette.
Note: White is reserved as the background/eraser color and cannot be changed.
Action Buttons
- Clear: Erase all beads on the canvas and start from a blank grid
- Reset: Revert to the auto-generated pattern for the current image — useful when you want to undo all manual edits
- Fill All: Flood-fill every empty (white) cell with the currently selected color — commonly used to set a uniform background
Eraser Mode (Shortcut: E)
Press E to switch to the eraser, then click or drag to clear the color from cells.
Eraser Size
Four eraser sizes are available in the sidebar:
| Size | Best for |
|---|---|
| 1×1 | Fine detail edits, single-cell corrections, outlines |
| 2×2 | Small area adjustments |
| 3×3 | Medium areas, character edges, background cleanup |
| 5×5 | Fast large-area clearing when redoing a whole section |
When a larger size is selected, hovering over the canvas shows a square highlight preview so you know exactly which cells will be affected.
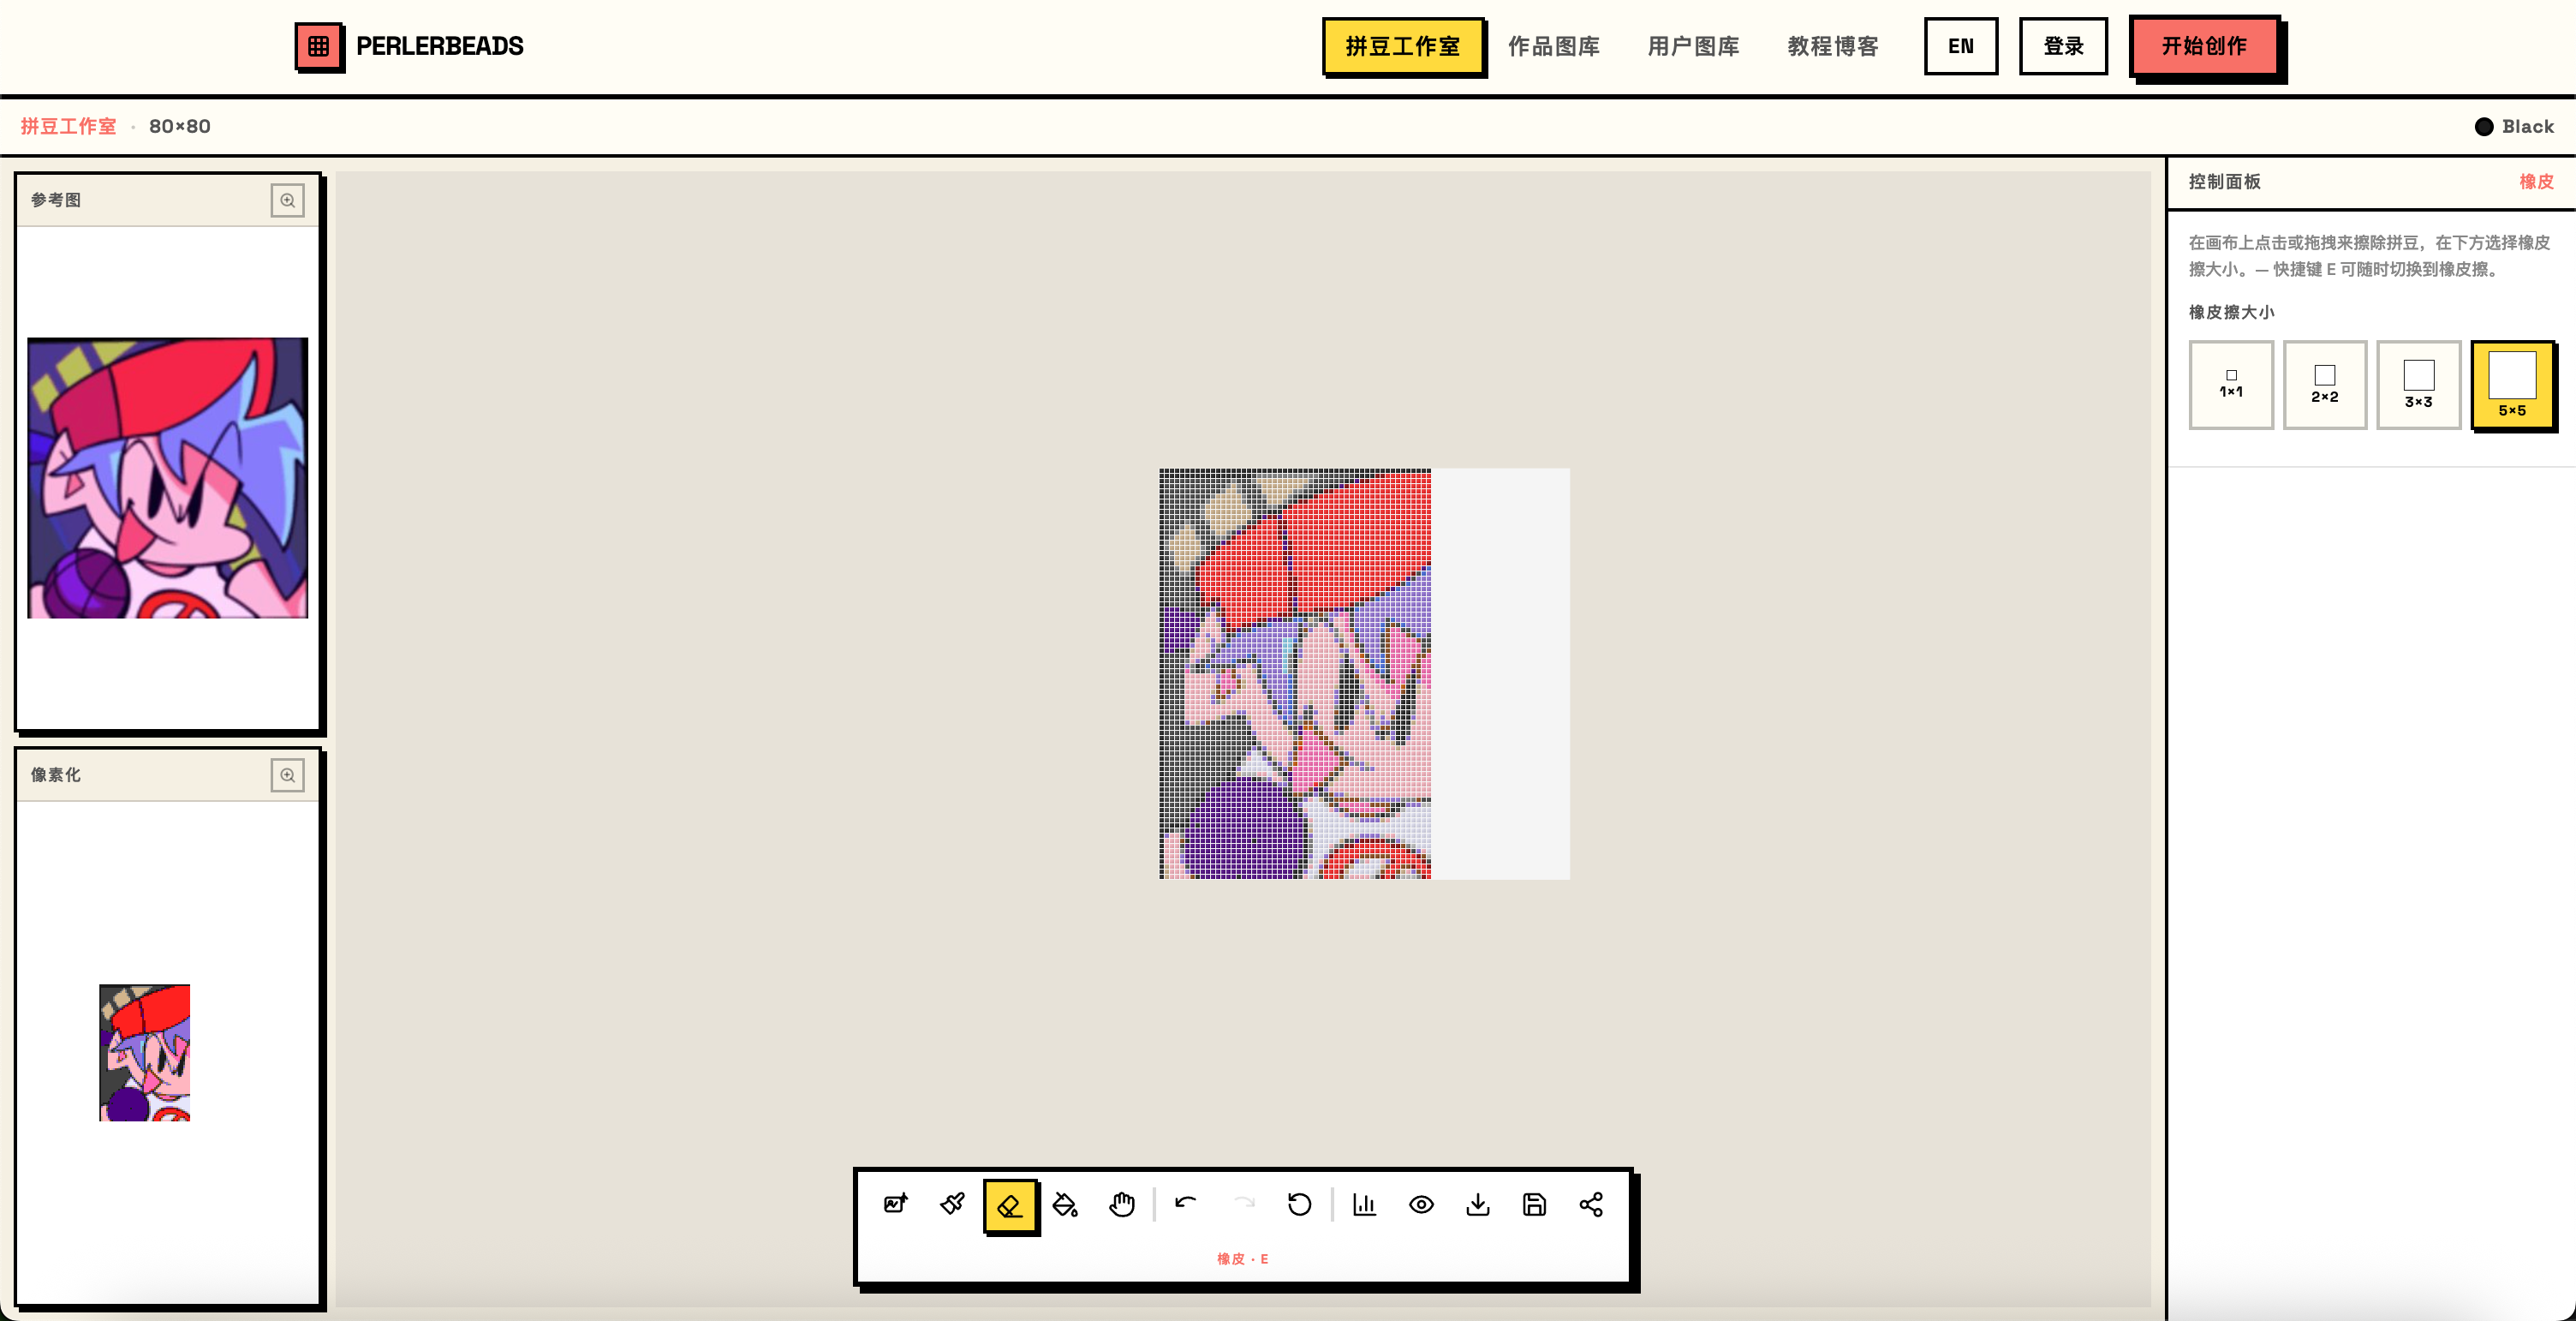
Power move: Combine the large eraser with undo — sweep 5×5 to clear a big area fast, then Ctrl+Z if you overshot. This beats careful 1×1 erasing for both speed and precision.
Fill Mode (Shortcut: G)
Press G to switch to fill mode, then click any bead to flood-fill all adjacent cells of the same color in one step.
Fill mode shares the same color palette, color editor, and action buttons as brush mode — they work identically.
Best for: Large solid-color backgrounds and replacing an entire color block at once. One click changes a whole connected region — far faster than painting cell by cell.
Stats Mode
Click the stats icon in the toolbar to enter stats mode. The panel lists how many beads of each color are on the canvas, with a progress bar showing the proportion, and a total bead count at the top.
The canvas is read-only in this mode — you can scroll and inspect without any risk of accidental changes.
Press B, E, or G to return to drawing at any time.
Tip: Check the stats before you finish — knowing exactly how many beads you need of each color helps you buy the right quantities and avoid running out mid-project.
Summary
| Tip | Recommended Use |
|---|---|
| Shortcut keys | Keep your hand on the keyboard — B/E/G/H/L cover everything |
| Ctrl+Z undo | Work confidently knowing any mistake can be rolled back |
| 5×5 eraser + Ctrl+Z | Clear large areas fast, then fine-tune — more efficient than 1×1 |
| Recommended grid sizes | Start with the auto-suggestion, then adjust manually if needed |
| HEX color input | Paste a brand color or reference hex code directly for accuracy |
| Fill + Fill All | Replace a color block or set a background in one click |
| Stats mode | Check bead counts before finishing — avoid running out mid-project |
Once you know what every panel does, the whole studio becomes easier to navigate, and the creative work stays in focus.
Happy beading!