
On a small pattern you can eyeball every color. On a big one, you can't. Two reds sit next to each other and you genuinely cannot tell whether that bead is Red or Dark Red. You pick a swatch that looks right, paint a few cells — and only later notice they don't match their neighbors. Now you're hunting for the mistake.
The eyedropper (color picker) solves this. Click any bead and the studio tells you exactly which palette color it is — by name and hex — and loads that color as your active color, ready to paint with. No guessing.
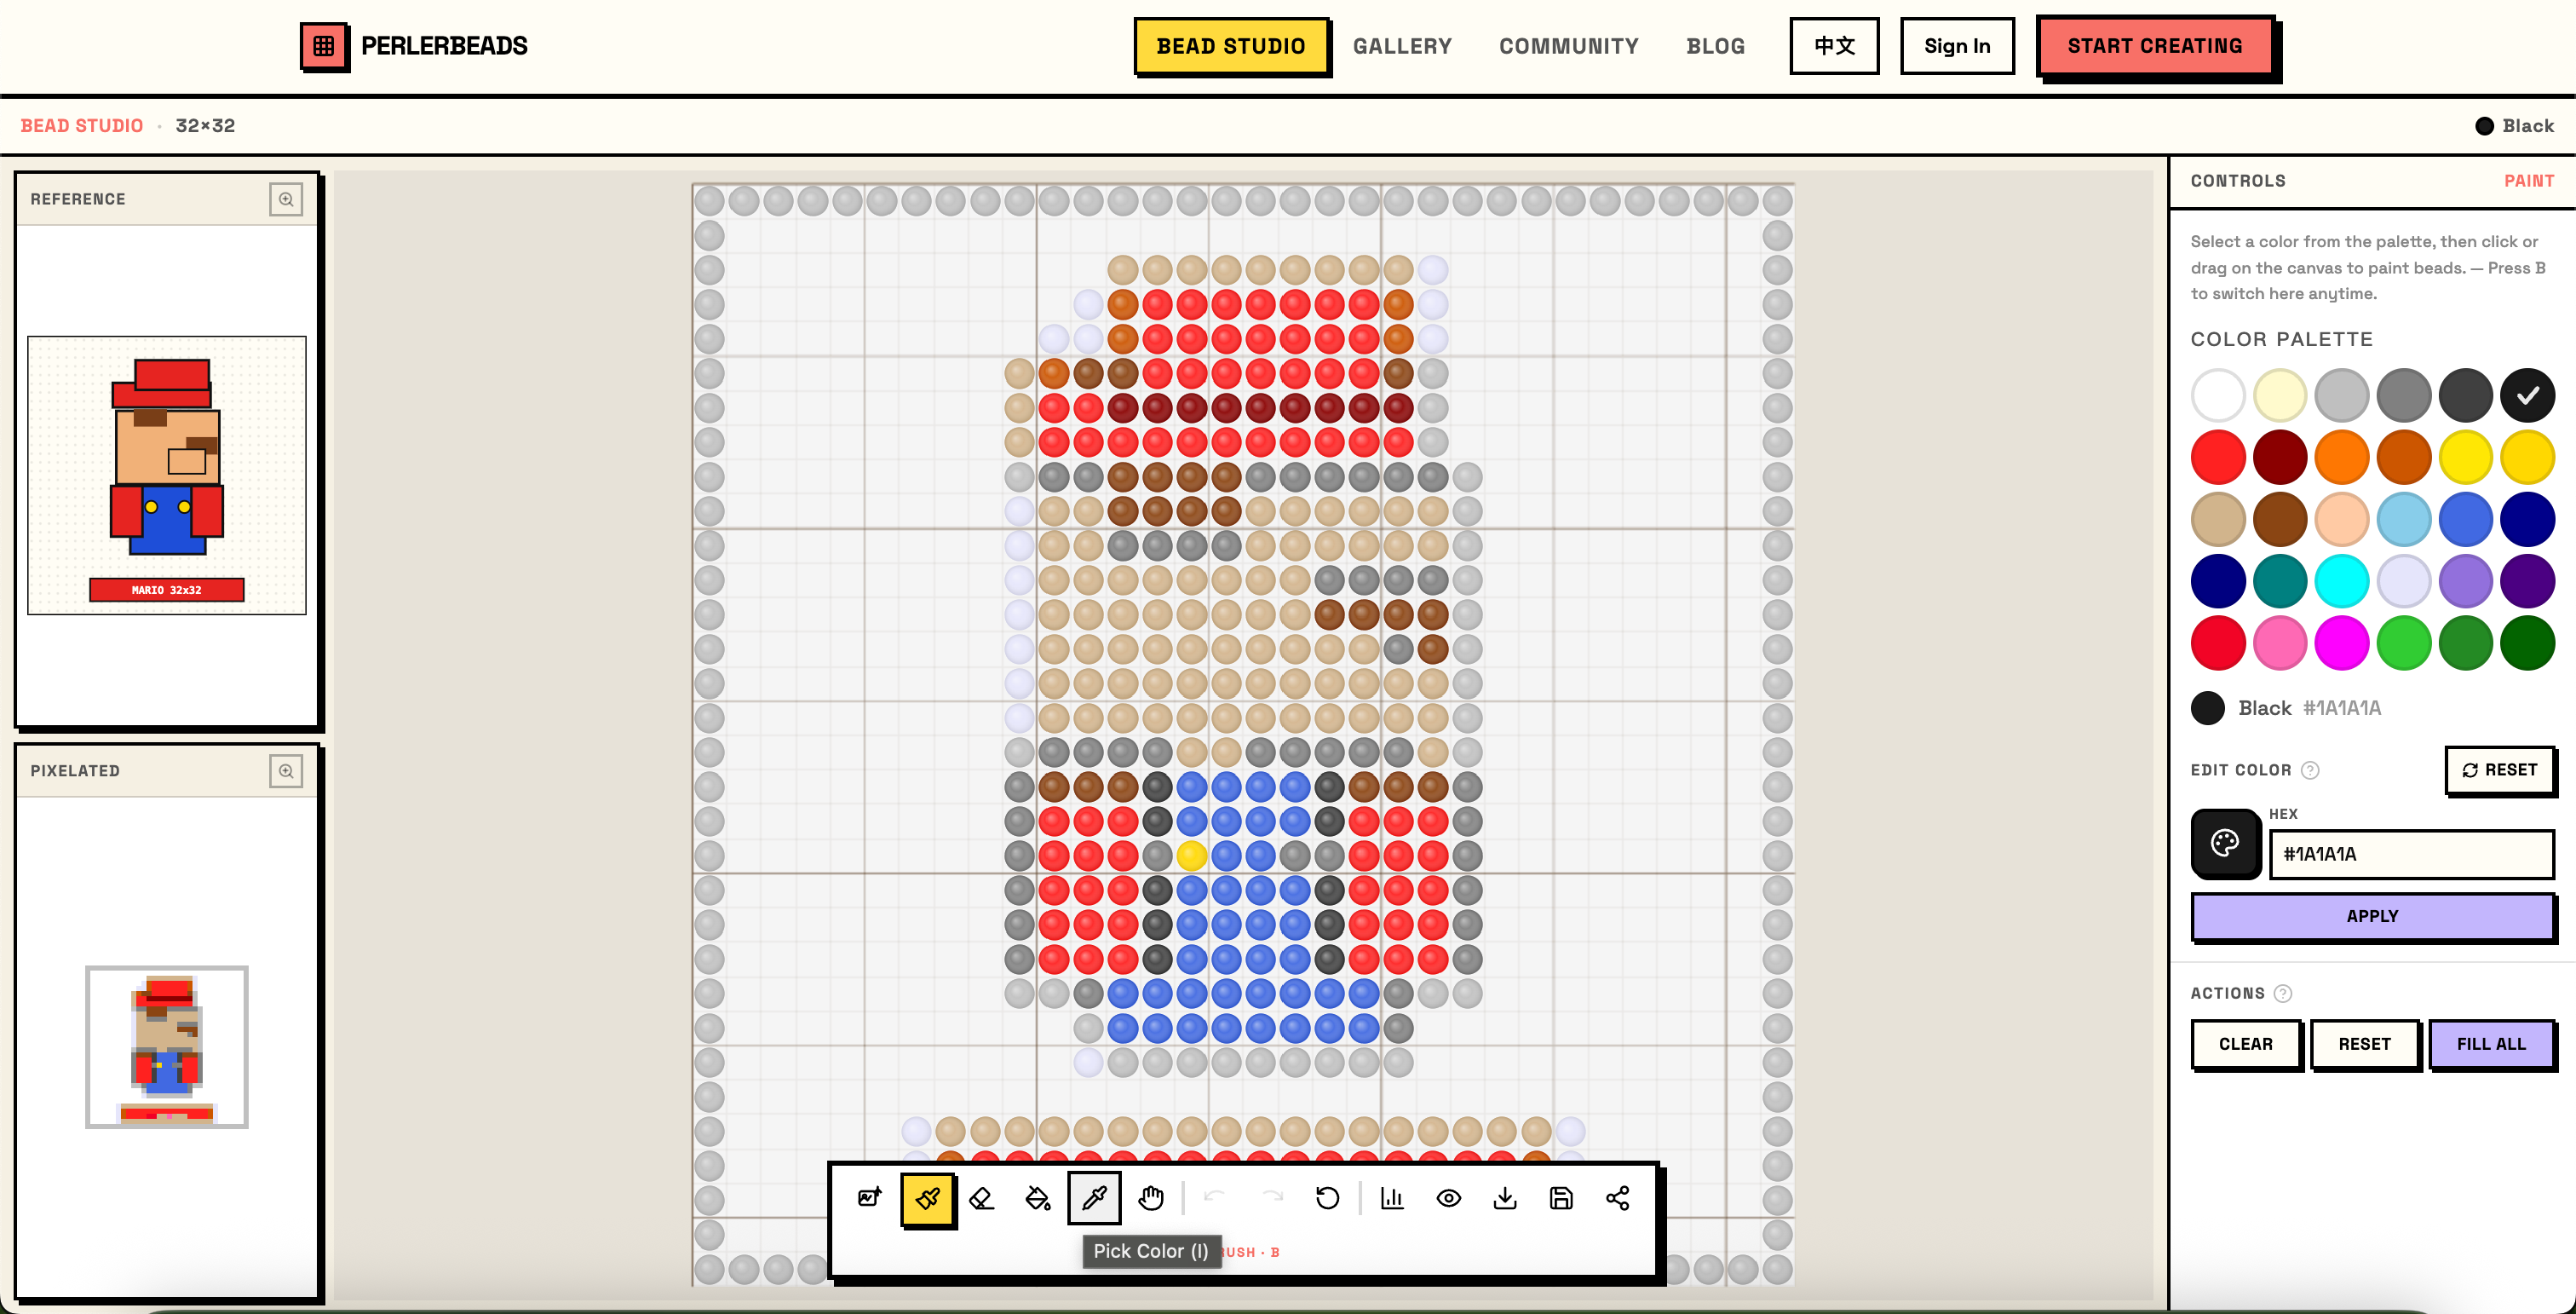
Step 1: Activate the Eyedropper
Click the eyedropper icon in the toolbar, or just press I — the universal shortcut for "pick color" in any image editor.
The toolbar sits between the Fill and Pan tools, so the order reads: Brush · Eraser · Fill · Pick · Pan. The bottom label updates to PICK COLOR · I so you always know which tool is active.
Step 2: Click a Bead to Read Its Color
With the eyedropper active, click any bead on the canvas. Two things happen instantly:
- The status bar (top) shows the color's name next to its swatch.
- The Controls panel on the right highlights that exact color in the palette and shows its name and hex code.
That's the whole point: you no longer have to guess which of the palette swatches a bead matches — the studio points straight at it.
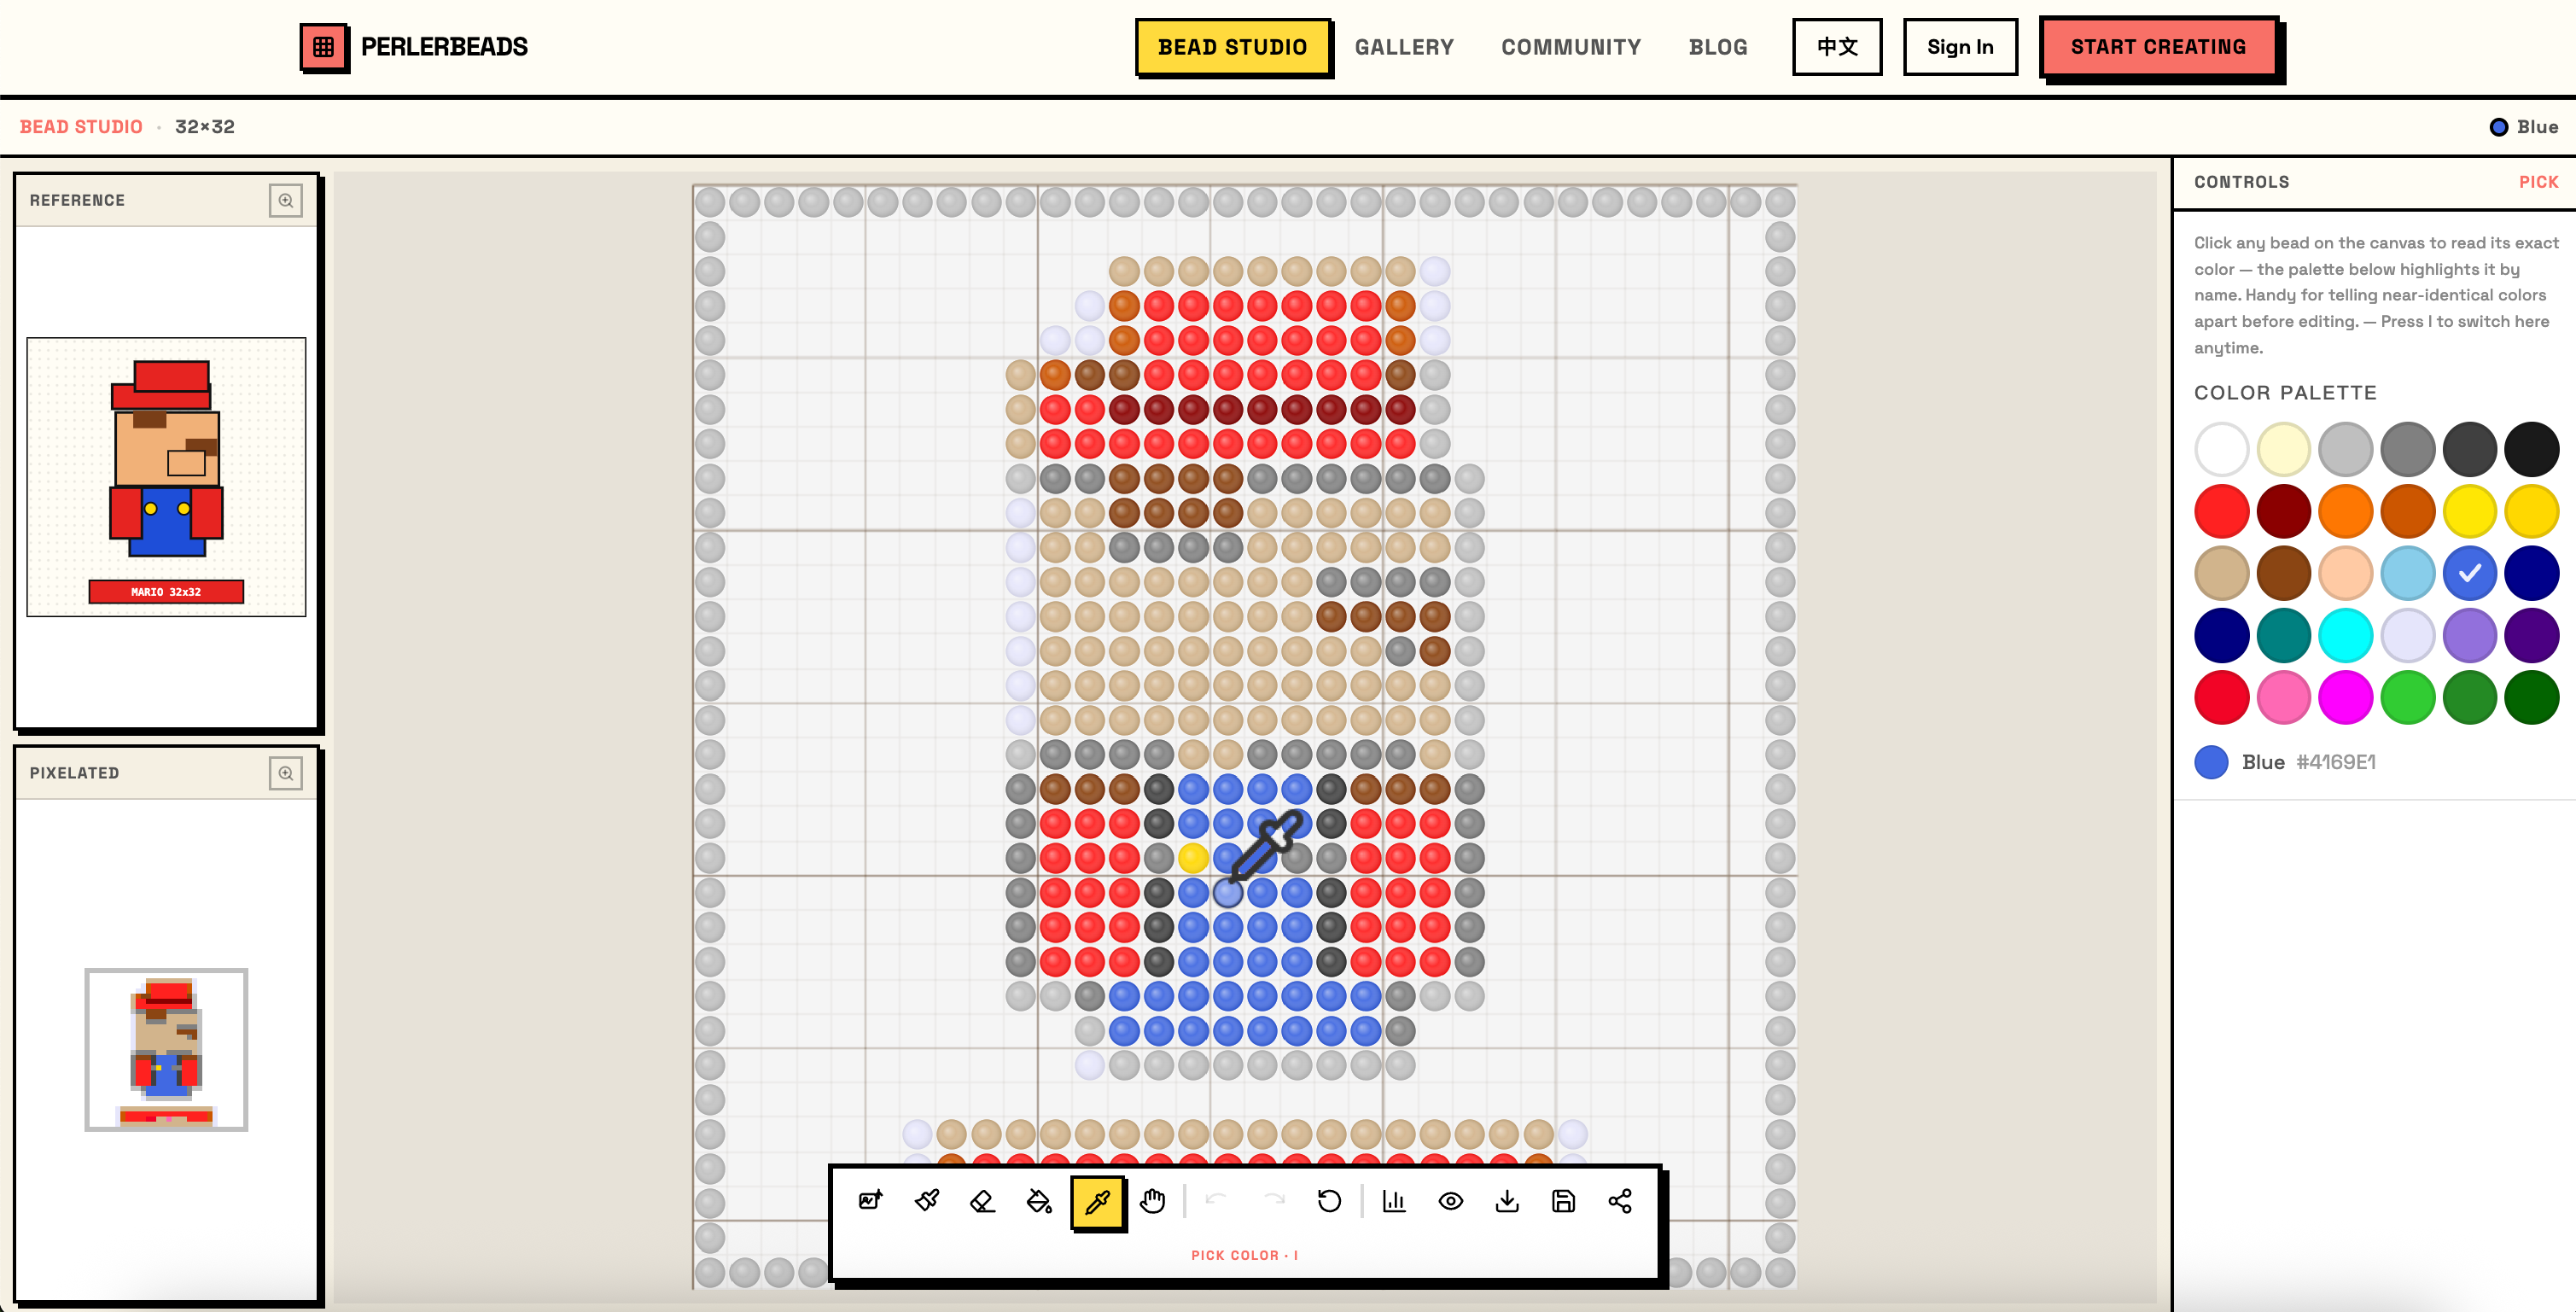
Tip: The cursor itself turns into a little eyedropper tinted with the color you just picked — a quick visual confirmation of what's loaded.
Step 3: Tell Near-Identical Colors Apart
This is where the tool earns its place. The eyedropper stays active after each pick, so you can sample one bead, then another, then another — comparing the names as you go.
Hover-click the bead you think is "Red," read the name. Click the one next to it that looks the same — is it really Red, or is it Dark Red? On a gradient of skin tones or a shaded background, this is the fastest way to confirm what's actually on the board before you touch anything.
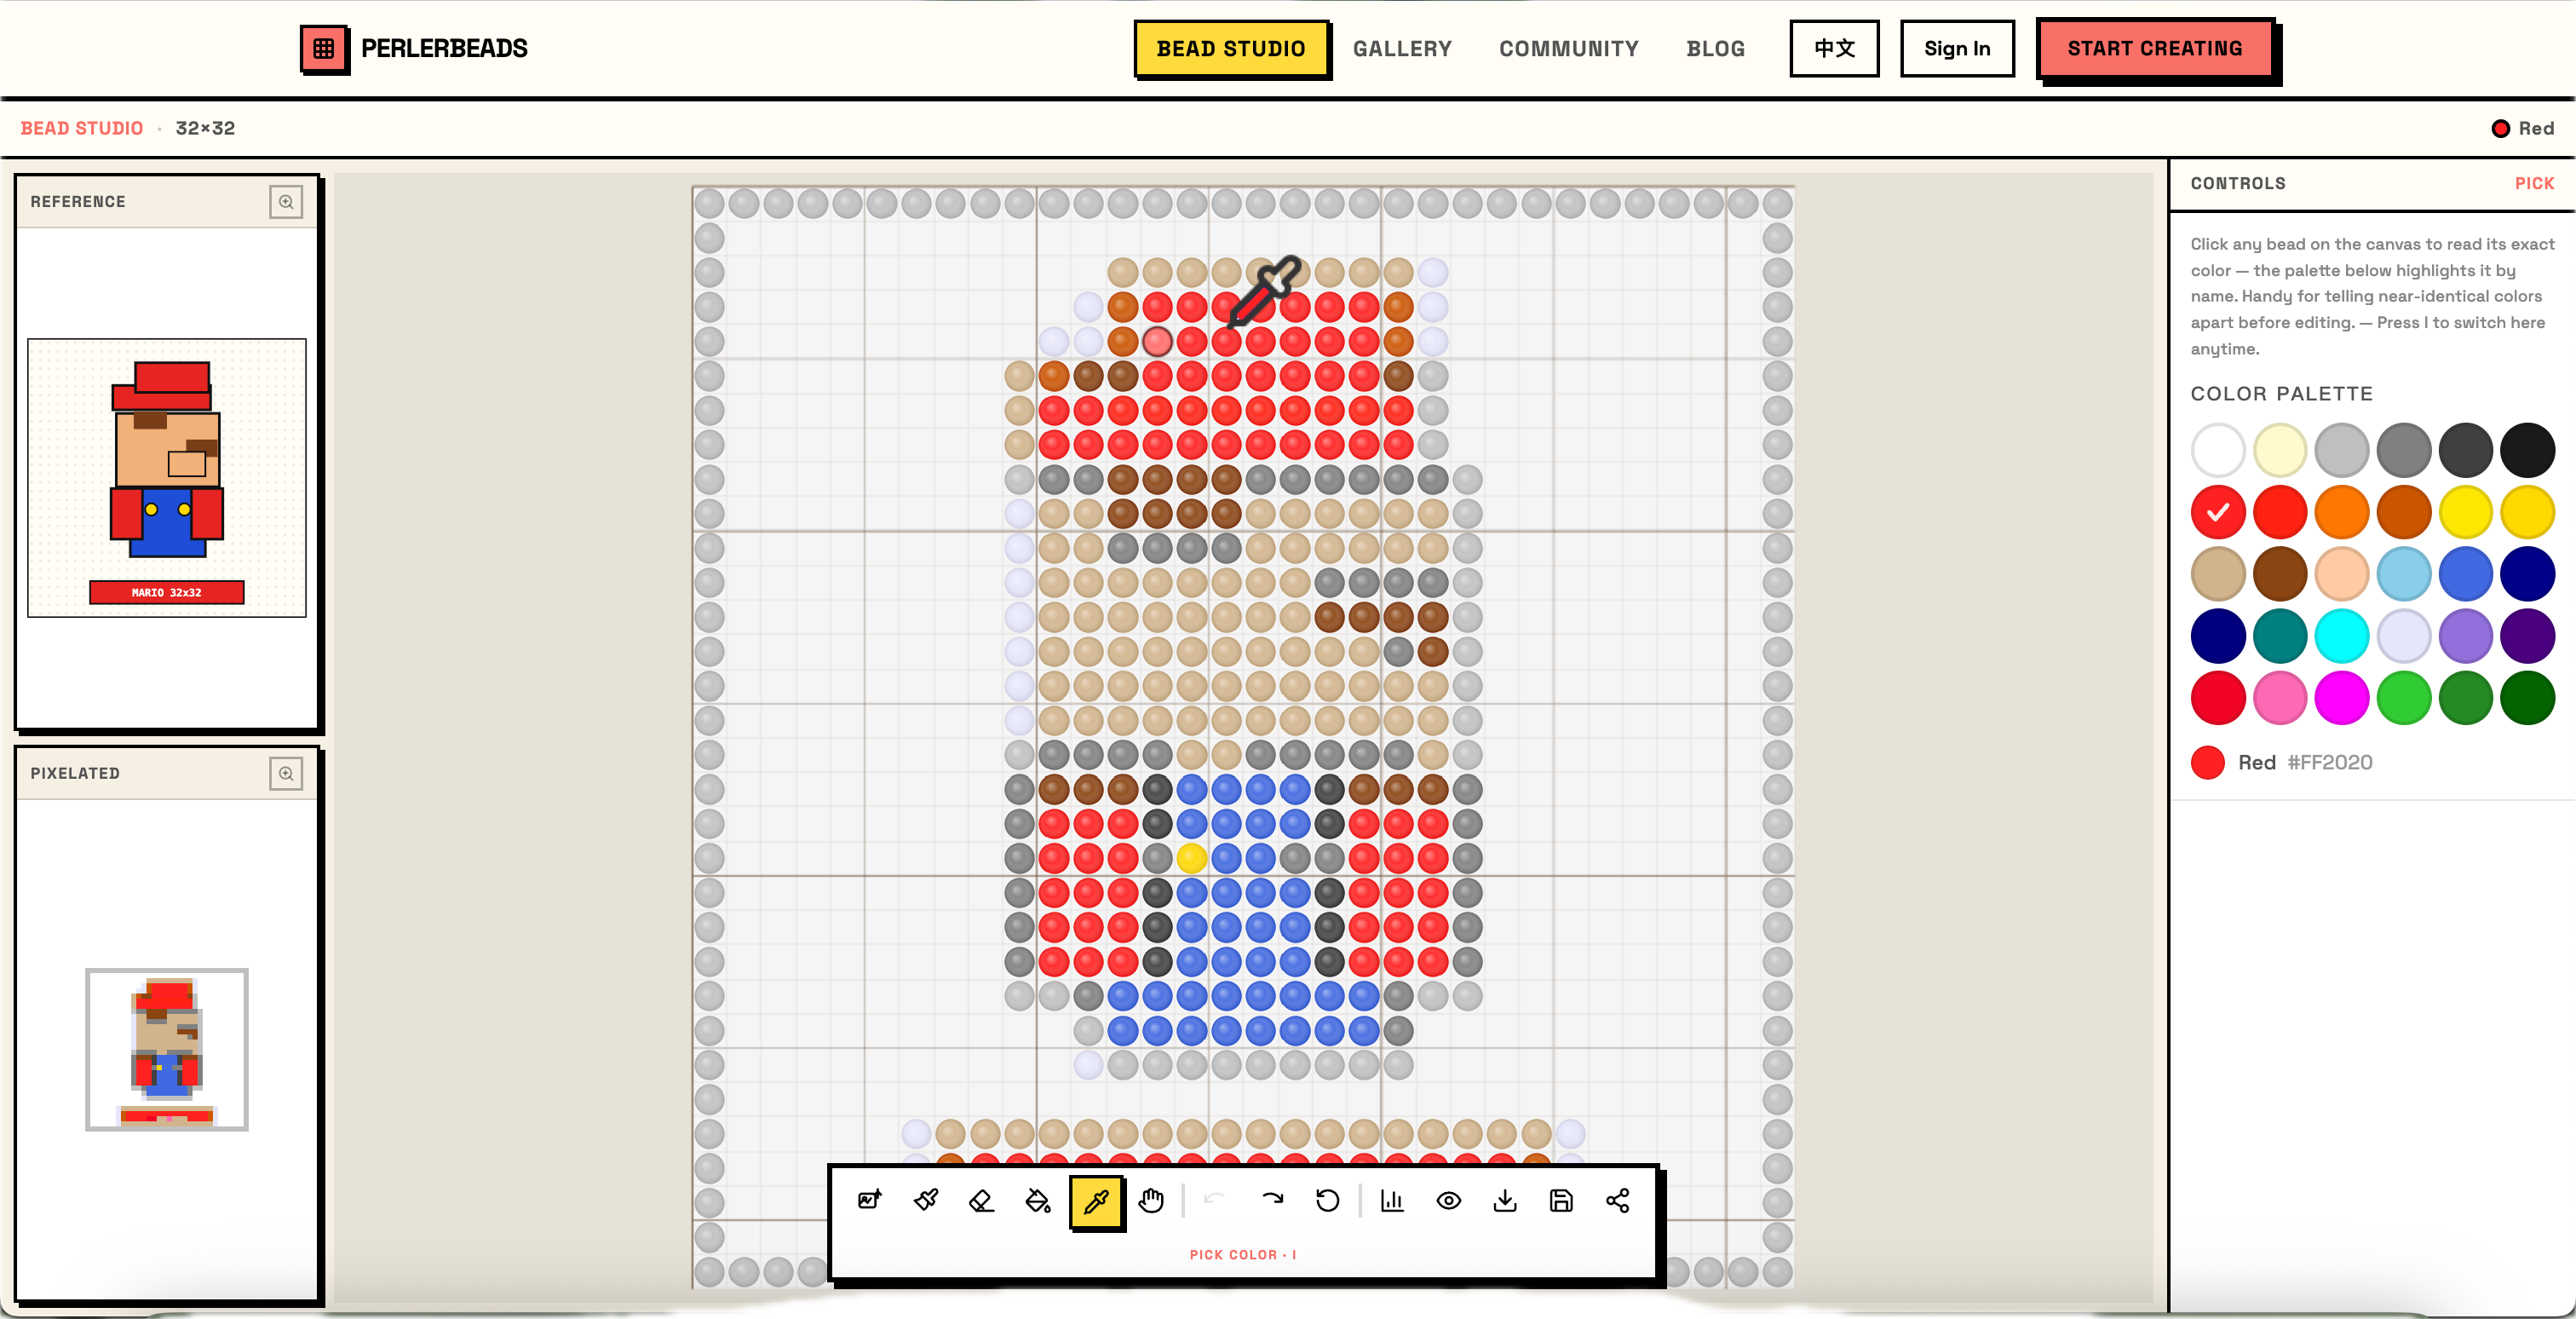
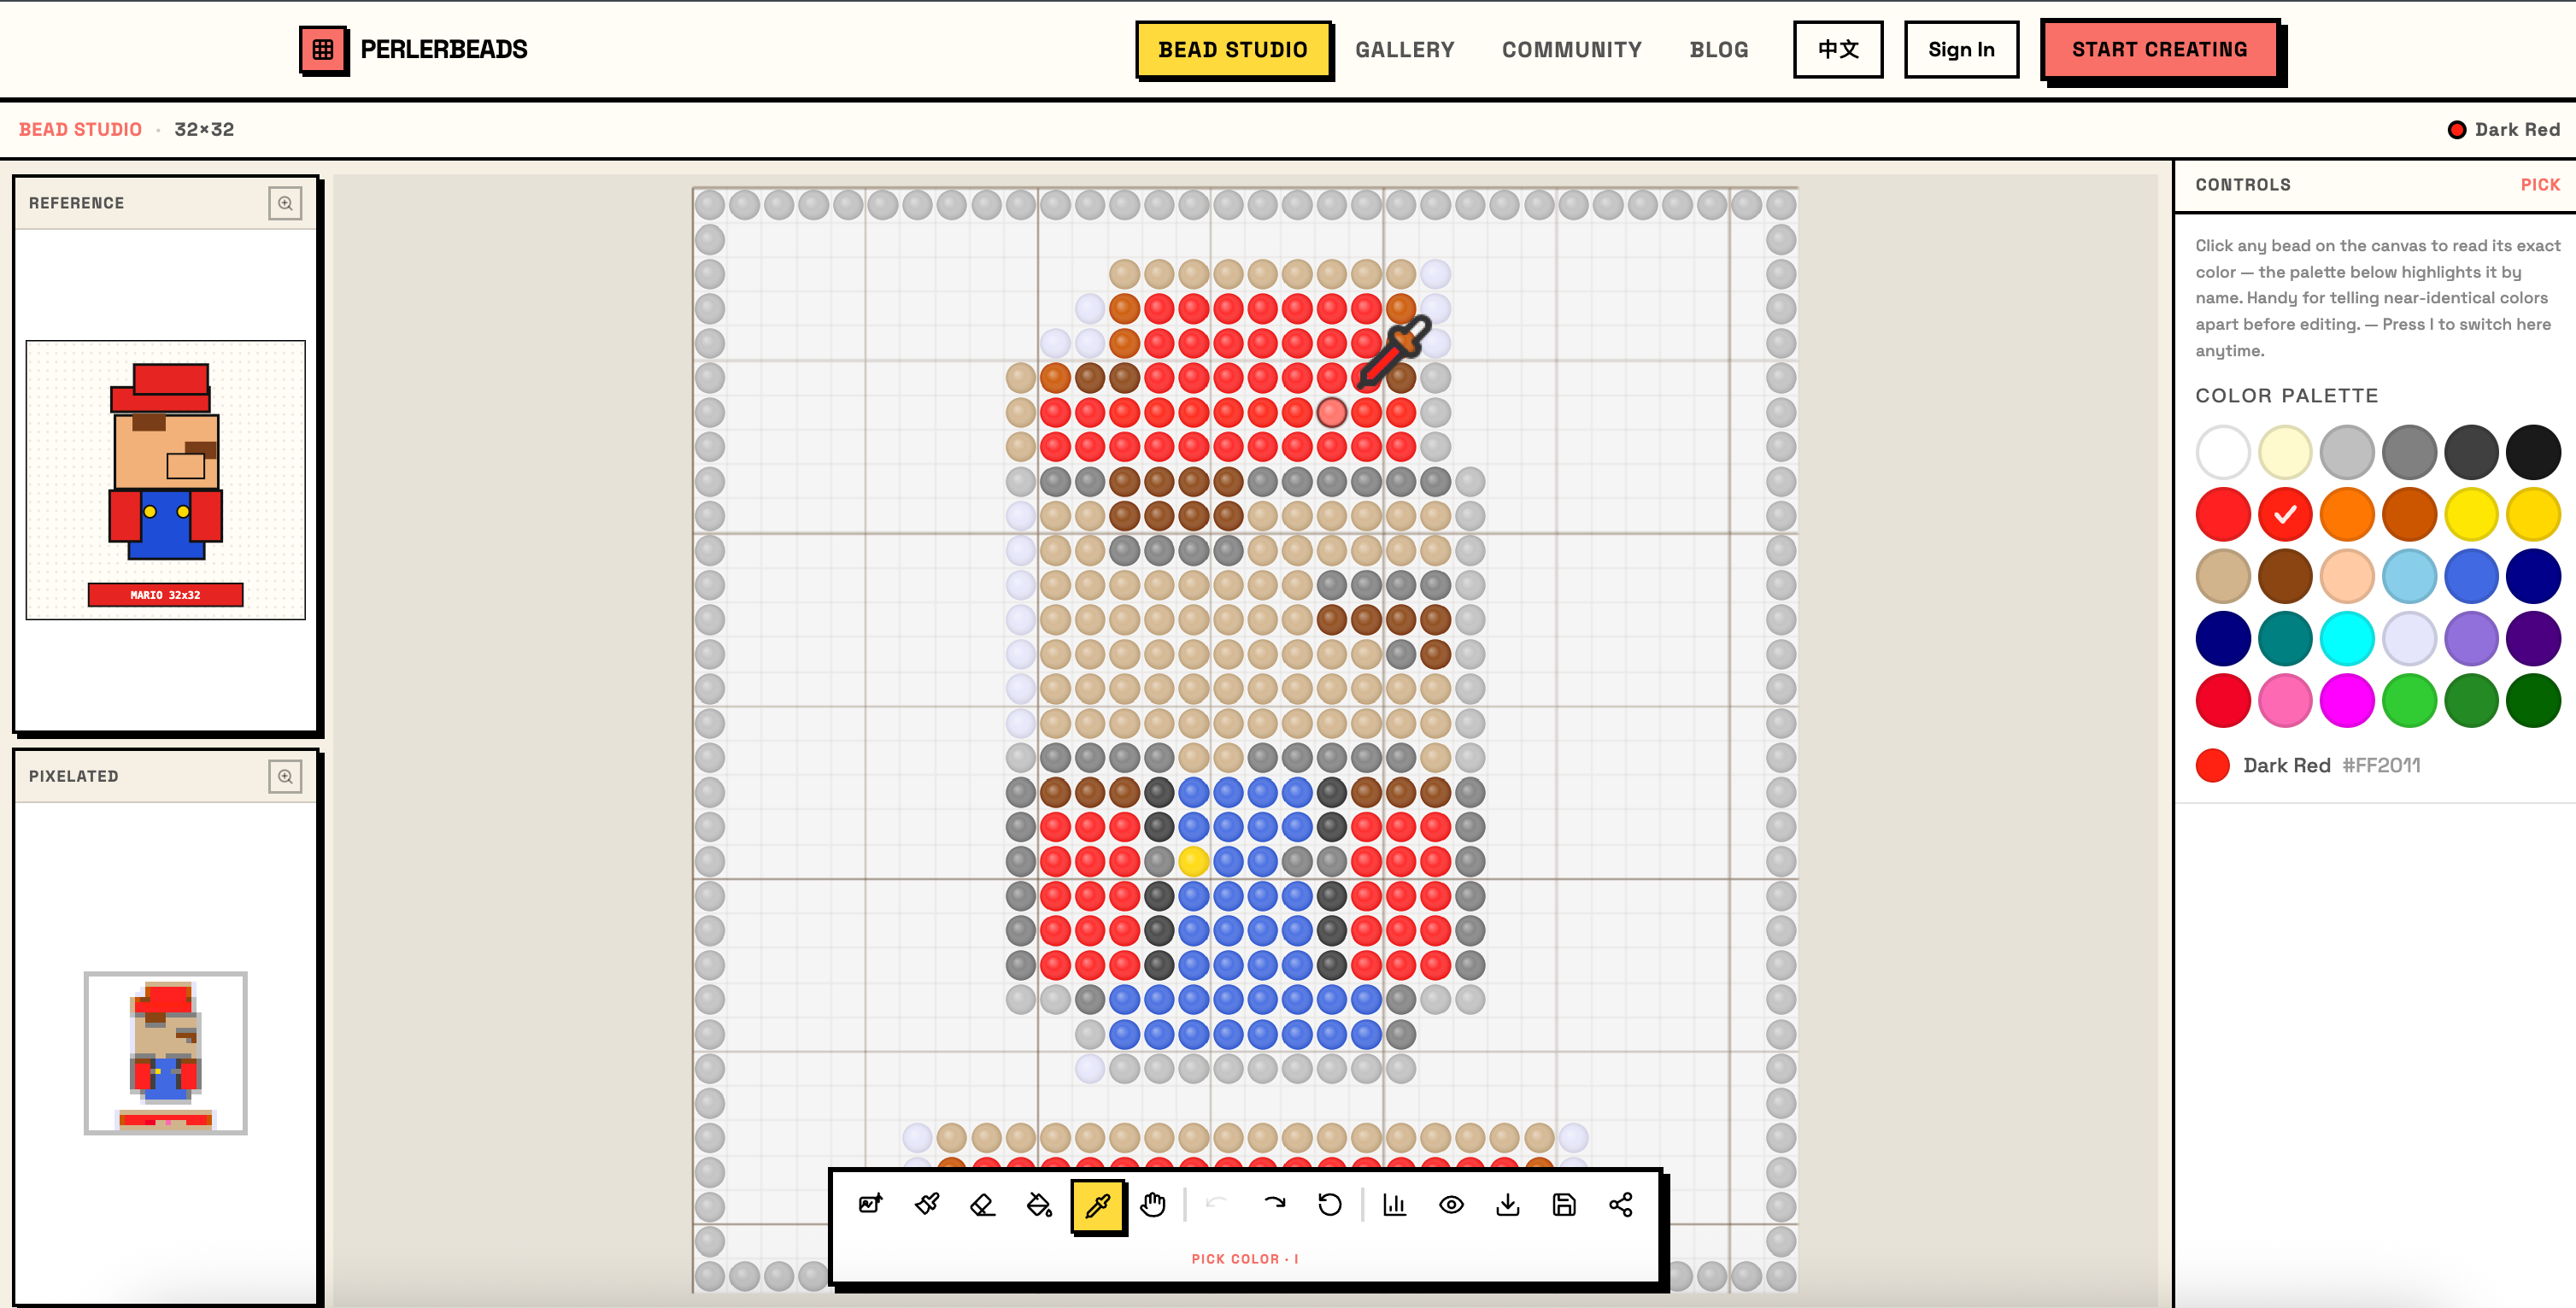
Because the palette in pick mode is read-only — it highlights the picked color but doesn't let you change the selection by clicking swatches — sampling is purely about *reading*. You won't accidentally change your active color or paint anything. When you're ready to edit, switch tools (more on that below).

Step 4: Pick, Then Paint With the Exact Match
Identifying a color is half the job — usually you want to *use* it. The flow is two keystrokes:
- Press I, click the bead whose color you want — it's now your active color.
- Press B to switch to the Brush, and paint. Every new bead is a perfect match for the one you sampled.
This is how you patch a region seamlessly: sample a neighbor, switch to the brush, fill the gap. No trips to the palette, no second-guessing.
Tip: White works too. In the studio, white doubles as the empty/background cell, and the eyedropper treats it just like the brush and eraser do — pick an empty or white cell and White becomes your active color. Everything stays consistent.
Summary
| Action | How |
|---|---|
| Activate eyedropper | Press I, or click the eyedropper in the toolbar |
| Identify a bead's color | Click it — name + hex appear in the status bar and palette |
| Compare similar colors | Sample beads one after another; the tool stays active |
| Match while editing | Pick the color, press B, paint |
The eyedropper turns "which red is that?" from a squint-and-guess into a single click. Try it the next time you're touching up a detailed pattern — it's the difference between editing confidently and editing twice.
Happy beading!
If you have ideas, feature suggestions, or run into anything while using Perlerbeads Studio, we'd love to hear from you on our contact page. Every piece of feedback is a potential seed for the next improvement — helping more bead artists bring their creative vision to life.